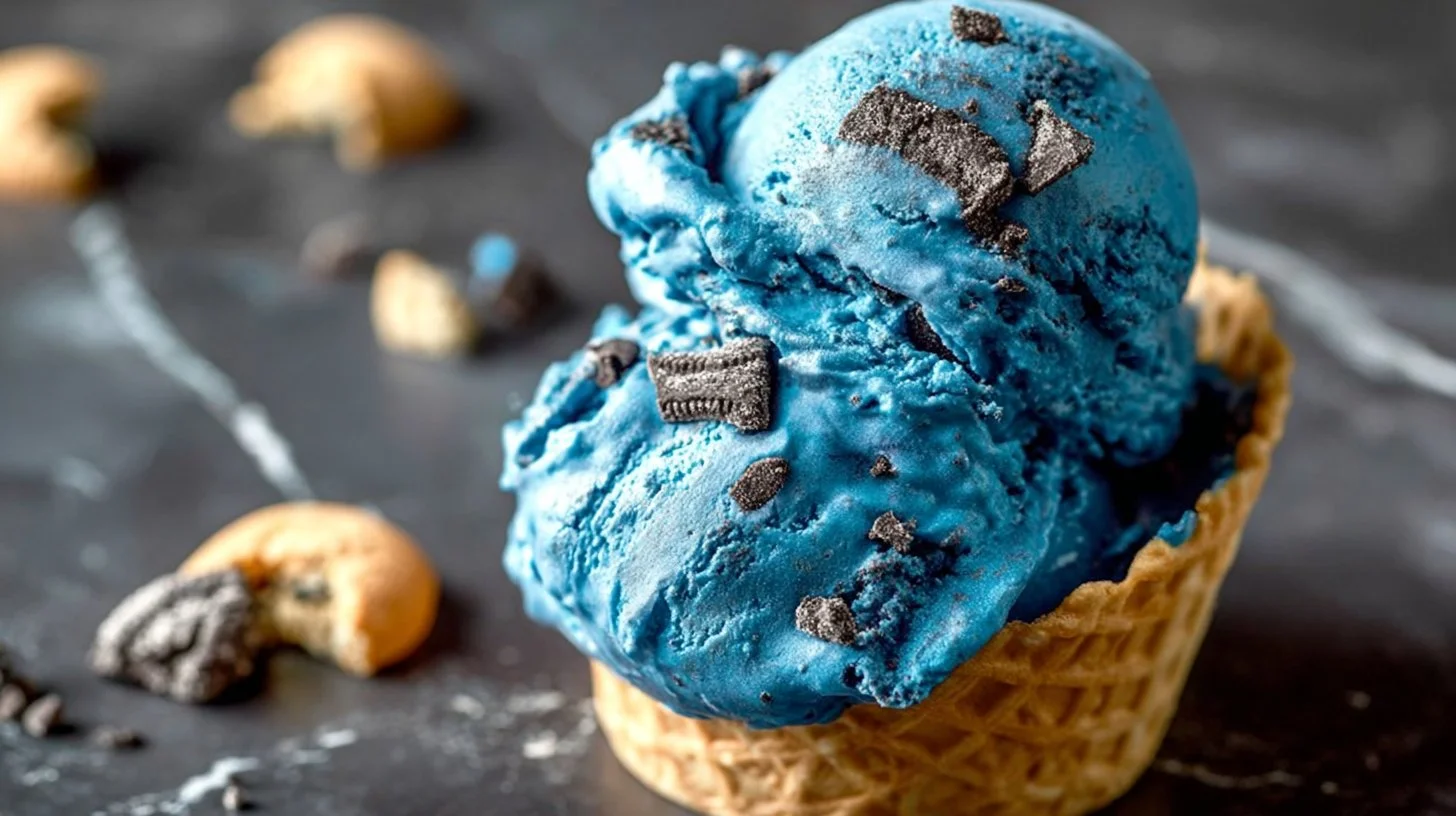
Have you ever wanted to enjoy a fun and colorful treat that’s perfect for all ages? Cookie Monster Ice Cream is a delightful combination of creamy goodness and classic cookies. This vibrant dessert isn’t just a feast for your taste buds; it’s also a visual delight!
Why Make This Recipe
Making Cookie Monster Ice Cream at home is not only simple, but it’s also a fantastic way to bring some joy into your kitchen. Why bother with store-bought versions when you have control over the ingredients? Plus, making it yourself lets you customize flavors and textures to suit your tastes. Friends and family will love this sweet, blue treat, and watching the smiles on their faces as they dig into this creamy dessert is priceless.
How to Make Cookie Monster Ice Cream
Ingredients:
- 2 cups (473 ml) heavy whipping cream
- 1 Tbsp vanilla extract
- ½ tsp blue gel food coloring (I used AmeriColor brand)
- 14 oz (396 g) can sweetened condensed milk
- 20 Oreos, chopped
- 15 Chips Ahoy cookies, chopped
Directions:
- In a stand mixer or using a handheld mixer, beat the heavy whipping cream, vanilla extract, and blue gel food coloring until stiff peaks form.
- Add in the sweetened condensed milk, beating on low until combined. Adjust blue food coloring to achieve your desired shade.
- Fold in the chopped Oreos and Chips Ahoy cookies carefully.
- Transfer the mixture to a loaf pan or an 8-inch cake pan.
- Sprinkle additional chopped Oreos and Chips Ahoy cookies on top, if desired.
- Cover the pan with plastic wrap or a lid and freeze for at least 6 hours, or preferably overnight.
How to Serve Cookie Monster Ice Cream
Serve this delightful Cookie Monster Ice Cream in bowls or cones. You can add a scoop of whipped cream on top for an extra touch. For fun, sprinkle extra cookie pieces or colorful sprinkles to make it even more appealing. This treat is a hit at birthday parties, summer gatherings, or simply a quiet evening at home.
How to Store Cookie Monster Ice Cream
To keep your Cookie Monster Ice Cream fresh, store it in an airtight container in the freezer. It will stay delicious for up to two weeks. When you’re ready to serve, simply scoop out what you need and return the rest to the freezer.
Tips to Make Cookie Monster Ice Cream
- Ensure that your heavy whipping cream is very cold before whipping. This helps achieve the best texture.
- Feel free to adjust the amount of blue food coloring to match your preference. More makes it bolder!
- If you’d like a swirl of color, you can mix less blue food coloring into the base.
Variation
Try adding different cookies for a fun twist! For example, chocolate chip cookies or peanut butter cookies can surprise your taste buds in delightful ways.
FAQs
1. Can I use low-fat whipping cream?
Using low-fat whipping cream may alter the texture, resulting in a less creamy ice cream. For the best results, stick with heavy whipping cream.
2. How can I make this dessert dairy-free?
You can substitute coconut cream for heavy whipping cream and use a dairy-free sweetened condensed milk. Just ensure that the rest of the ingredients align with your dietary needs.
3. Is it safe to eat raw cookie dough?
Raw cookie dough can contain raw eggs and flour, which carry a risk of foodborne illness. Opting for safe-to-eat cookie dough or skipping raw dough altogether will keep your Cookie Monster Ice Cream safer.
Enjoy making this Cookie Monster Ice Cream at home—it’s bound to bring a smile to your face and delight your taste buds!

Cookie Monster Ice Cream
Ingredients
Method
- In a stand mixer or using a handheld mixer, beat the heavy whipping cream, vanilla extract, and blue gel food coloring until stiff peaks form.
- Add in the sweetened condensed milk, beating on low until combined. Adjust blue food coloring to achieve your desired shade.
- Fold in the chopped Oreos and Chips Ahoy cookies carefully.
- Transfer the mixture to a loaf pan or an 8-inch cake pan.
- Sprinkle additional chopped Oreos and Chips Ahoy cookies on top, if desired.
- Cover the pan with plastic wrap or a lid and freeze for at least 6 hours, or preferably overnight.
- Serve this delightful Cookie Monster Ice Cream in bowls or cones with a scoop of whipped cream on top.
- For fun, sprinkle extra cookie pieces or colorful sprinkles to make it even more appealing.
- Store it in an airtight container in the freezer for up to two weeks.
- When you’re ready to serve, simply scoop out what you need and return the rest to the freezer.
Notes
Printable Recipe Card
Want just the essential recipe details without scrolling through the article? Get our printable recipe card with just the ingredients and instructions.