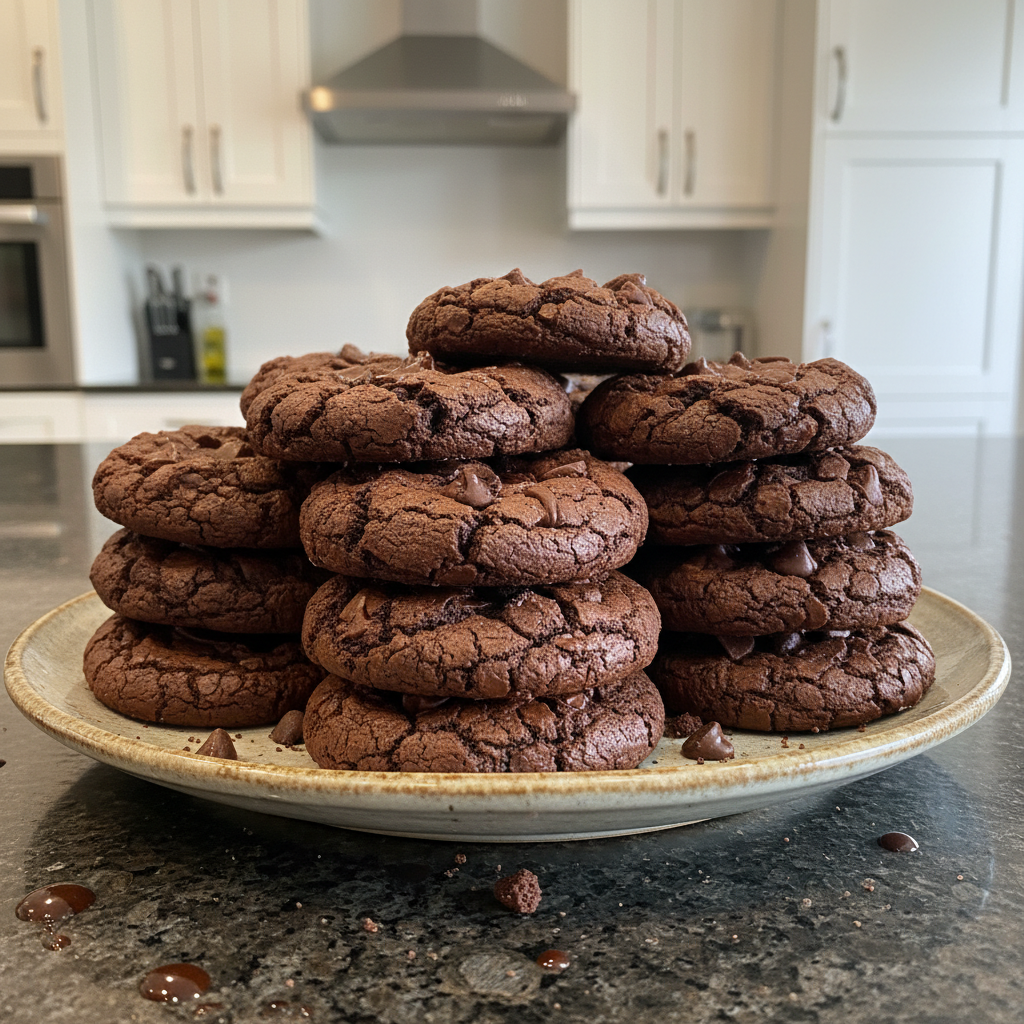
The rich, warm aroma of toasted butter and melting chocolate, that’s what fills my kitchen when I bake a batch of these extraordinary brown butter chocolate chip cookies. Forget every other cookie recipe you’ve tried; this isn’t just baking, it’s an alchemy of flavors, a journey into the heart of what makes a cookie truly spectacular. We’re embracing the French art of “beurre noisette” here, transforming simple butter into a complex, nutty foundation that elevates a standard chocolate chip cookie into a masterpiece with deep toffee notes.
This guide is about professional techniques, ensuring your brown butter chocolate chip cookies achieve that perfect balance of chewy, crisp, and utterly irresistible, just like a pastry chef’s creation.
Why You’ll Love This Recipe
The Milk Powder Infusion: I’ve discovered a unique twist that truly sets these cookies apart, adding dry milk powder during the browning process. This simple step provides extra milk solids for the Maillard reaction, exponentially deepening that nutty, rich flavor profile you crave.
Depth of Flavor: You’ll adore how the dark brown sugar and its natural molasses notes intertwine with the toasted butter. It creates a symphony of caramel and toffee that dances on your palate.
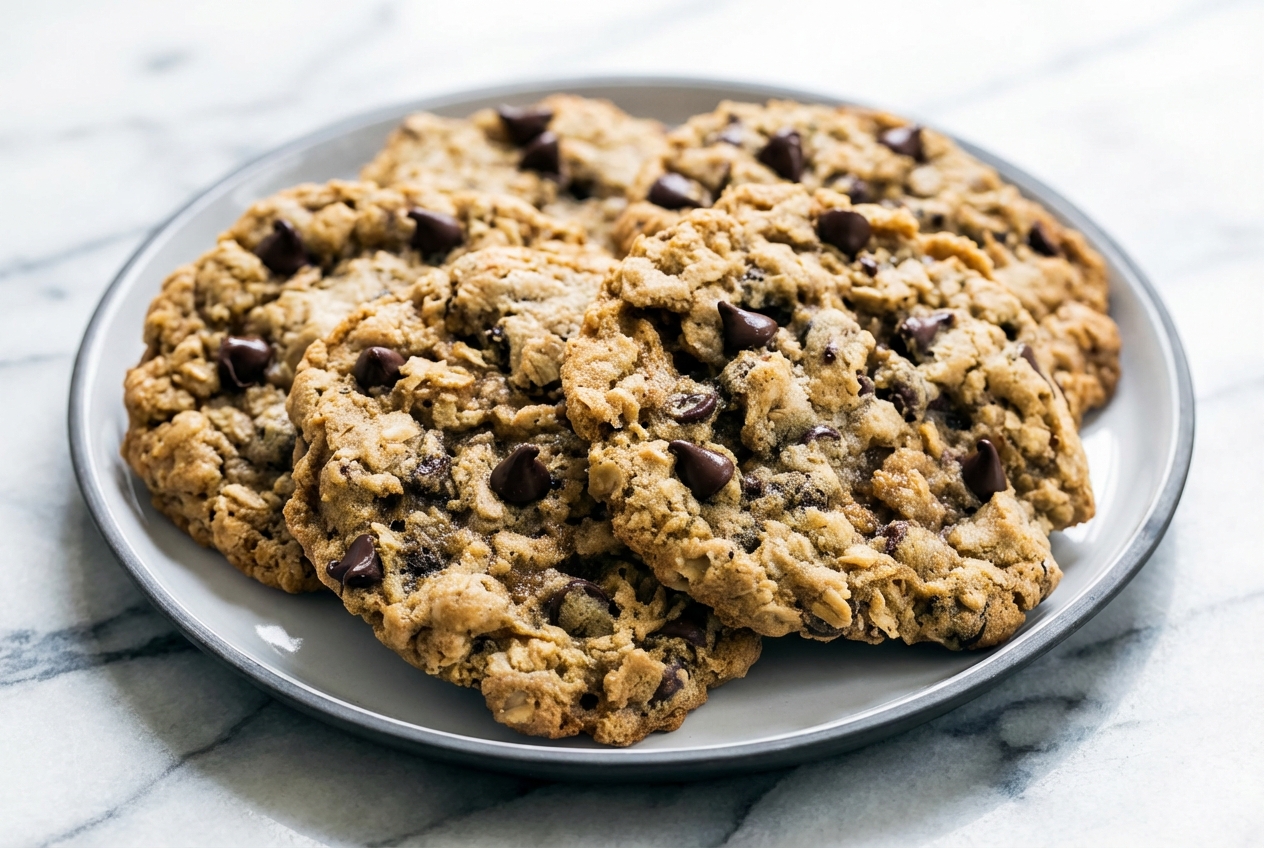
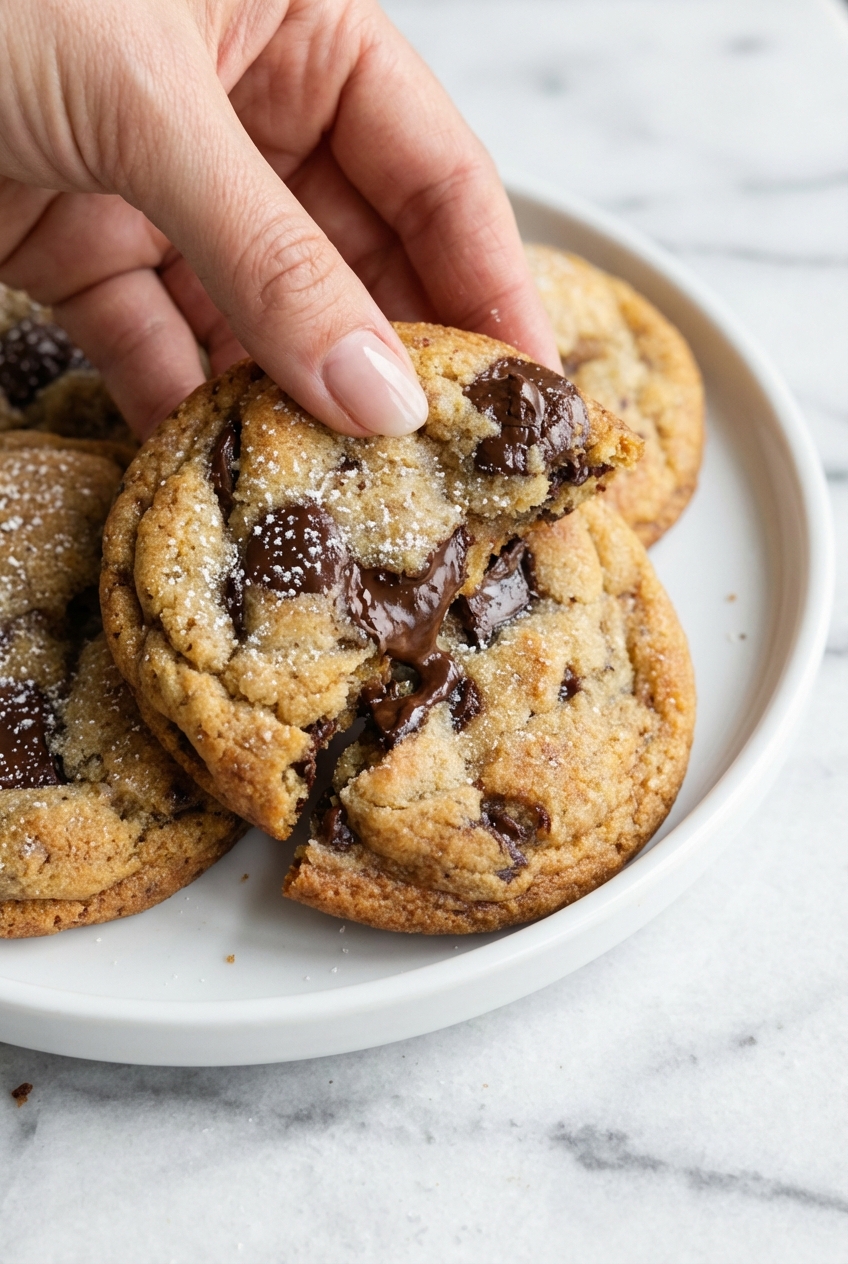
Superior Texture: Prepare for cookie nirvana with crisp, caramelized edges that give way to a soft, fudgy, melt-in-your-mouth center. This is the texture perfection we all dream of.
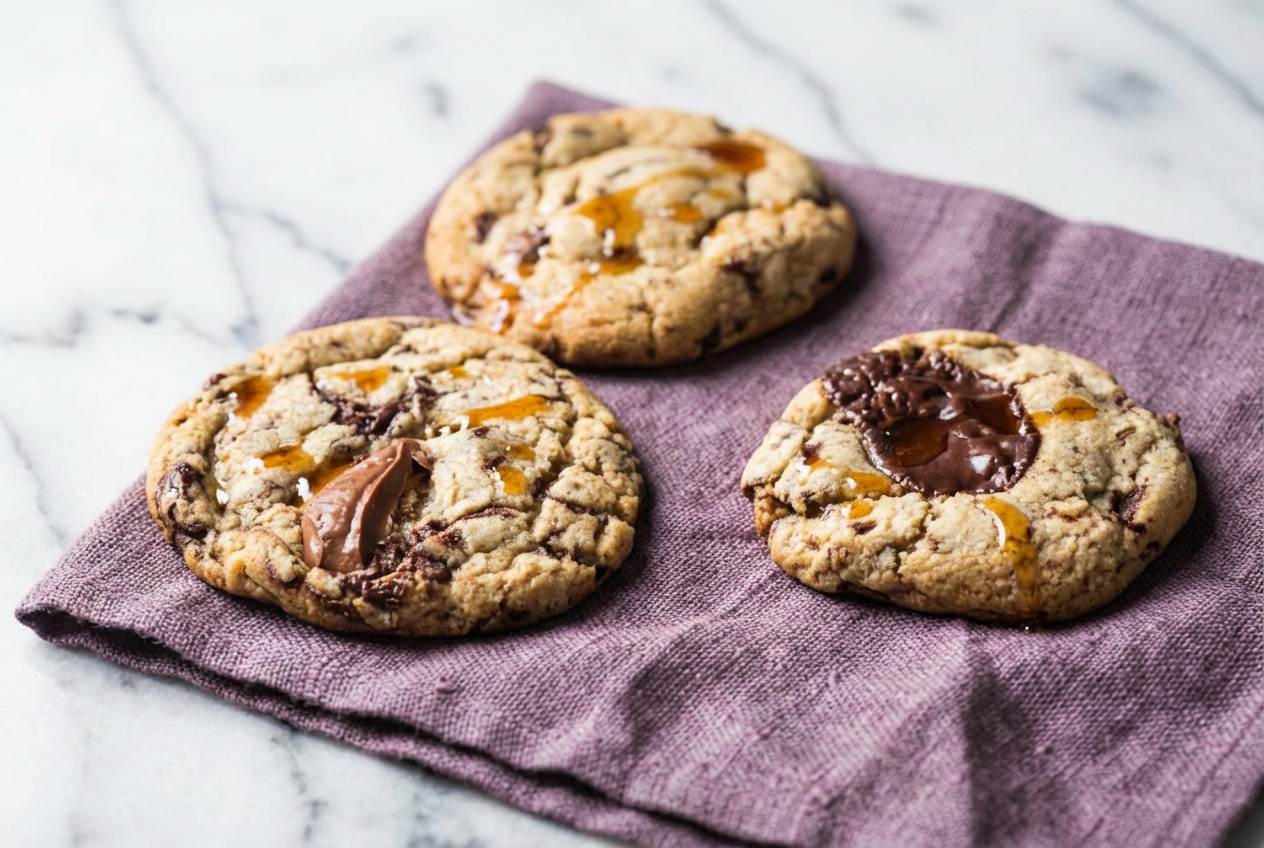
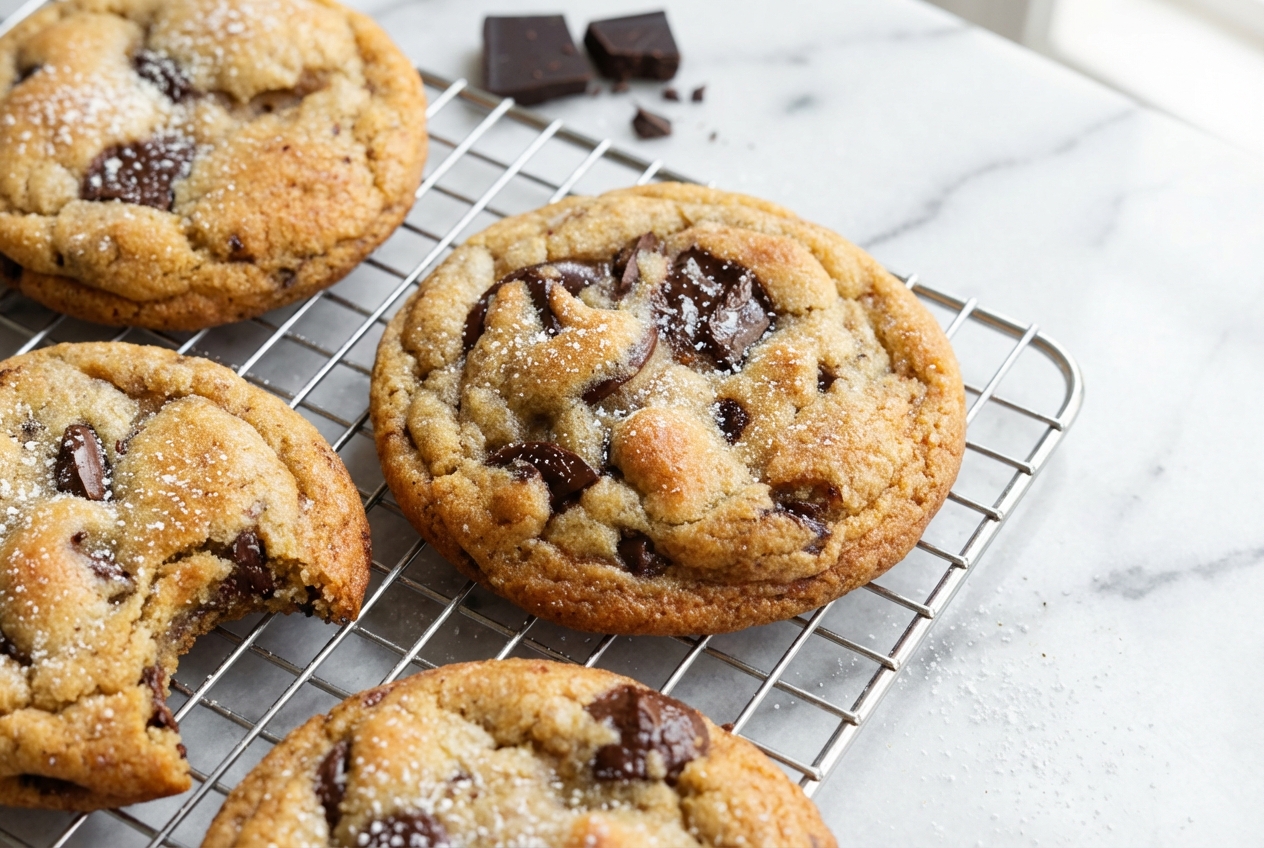
Bakery Aesthetics: Not only do these cookies taste incredible, but they also look stunning. Our special “pan banging” technique creates those iconic ripples and beautiful puddles of chocolate, making them Instagram-ready straight from the oven.
Ingredients Needed
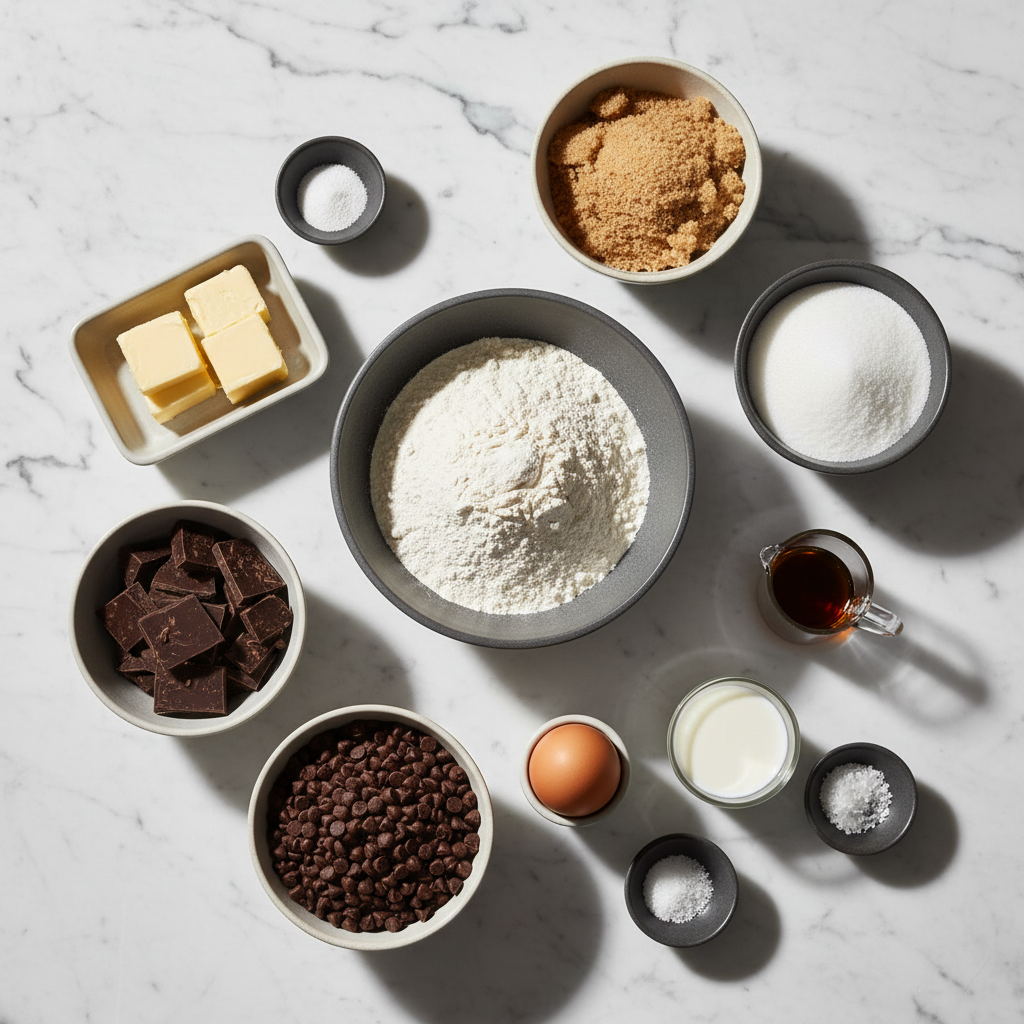
Every great cookie starts with quality ingredients. Here’s what you’ll need to create these masterpieces, each playing a vital role in achieving the perfect texture and profound flavor.
Ingredients
- 140g Salted butter
- 100g Granulated sugar
- 150g Light brown sugar
- 1 large Egg
- 1 tablespoon Milk
- 1 tablespoon Pure vanilla extract
- 1/4 teaspoon Salt
- 230g All purpose flour
- 3/4 teaspoon Baking soda
- 100g Dark chocolate chunks
- 100g Chocolate chips
Ingredient Notes & Substitutions
Chocolate Selection: For those magnificent “chocolate puddles,” I always recommend using high-quality couverture chocolate or a good chocolate bar chopped into shards. The higher cocoa butter content melts beautifully, creating those desirable pockets of gooey chocolate.
Butter Quality: Salted butter isn’t just a convenience here; its slight salinity provides a crucial counterpoint to the sweetness of the sugars. This subtle saltiness enhances all the other flavors, making the cookies truly pop.
Flour Precision: I can’t stress this enough, a kitchen scale is your best friend for baking, especially when it comes to flour. Measuring by volume can easily lead to too much flour, resulting in a dense, cakey cookie instead of our desired chewy, soft texture.
How to Make Brown Butter Chocolate Chip Cookies
Mastering the Brown Butter (The Twist)
- To begin, melt the 140g of salted butter in a small saucepan over medium heat. Once it’s fully melted and comes to a gentle simmer, you’ll hear it crackle as the water evaporates.
- Continue stirring the butter constantly as it boils, ensuring it cooks evenly. As the moisture disappears, a dense foam will begin to form on the surface.
- This is where our unique twist comes in! Once the butter is melted, stir in 1 tablespoon of dry milk powder. The crackling will start to subside, and the foam will become even denser and take on a golden hue.
- Keep a close eye out for beautiful golden-brown flecks appearing at the bottom of the pan. The moment you see these, and smell a rich, nutty aroma, immediately pour the browned butter into a clean, heat-proof bowl to stop the cooking process.
- Allow the butter to cool at room temperature for about 10 minutes, then transfer it to the freezer for another 10 minutes. It needs to reach a thick, opaque consistency, resembling firm but not hard butter (ideally around 34°C or 93°F). This step is crucial; hot, liquid butter will lead to greasy, flat cookies.
Preparing the Base and Emulsification
- In a medium bowl, whisk together the 230g all-purpose flour, 3/4 teaspoon baking soda, and 1/4 teaspoon salt until they are thoroughly combined and evenly distributed.
- In a separate, large bowl, combine your cooled brown butter with 100g granulated sugar and 150g light brown sugar. Mix gently until it comes together and resembles thick, wet sand.
- Add the 1 large egg, 1 tablespoon milk, and 1 tablespoon pure vanilla extract to the butter and sugar mixture. Mix until it’s well incorporated and looks creamy, but be careful not to beat it too vigorously; we want to avoid over-aerating the mixture.
The Fold, Chill Factor, and Baking
- Gradually add the flour mixture to the wet ingredients. Fold it in or mix on low speed just until most of the flour has disappeared. Then, add the 100g dark chocolate chunks and 100g chocolate chips before all the flour is fully incorporated, continuing to mix just until the chocolate is evenly distributed and no dry streaks of flour remain. Overmixing will develop gluten, leading to tough cookies.
- Cover the bowl tightly with plastic wrap and refrigerate the dough for a mandatory 1-2 hours. This chill time allows the flavors to meld beautifully and the fats to solidify, which is essential for perfect cookie structure.
- When you’re ready to bake, preheat your oven to 375°F (190°C). Portion the dough and roll it into smooth, round balls. Place them onto prepared baking sheets, ensuring they are spaced about 3 inches apart to allow for spreading. Do not flatten them.
- Bake for 8-10 minutes. The cookies are ready when the tops are golden, the edges are lightly browned, but the centers still look soft and slightly underbaked.
- Immediately after removing the pan from the oven, give it a firm bang on the counter once or twice. This “pan banging” technique helps create those iconic ripples and crinkly tops that define a bakery-style cookie.
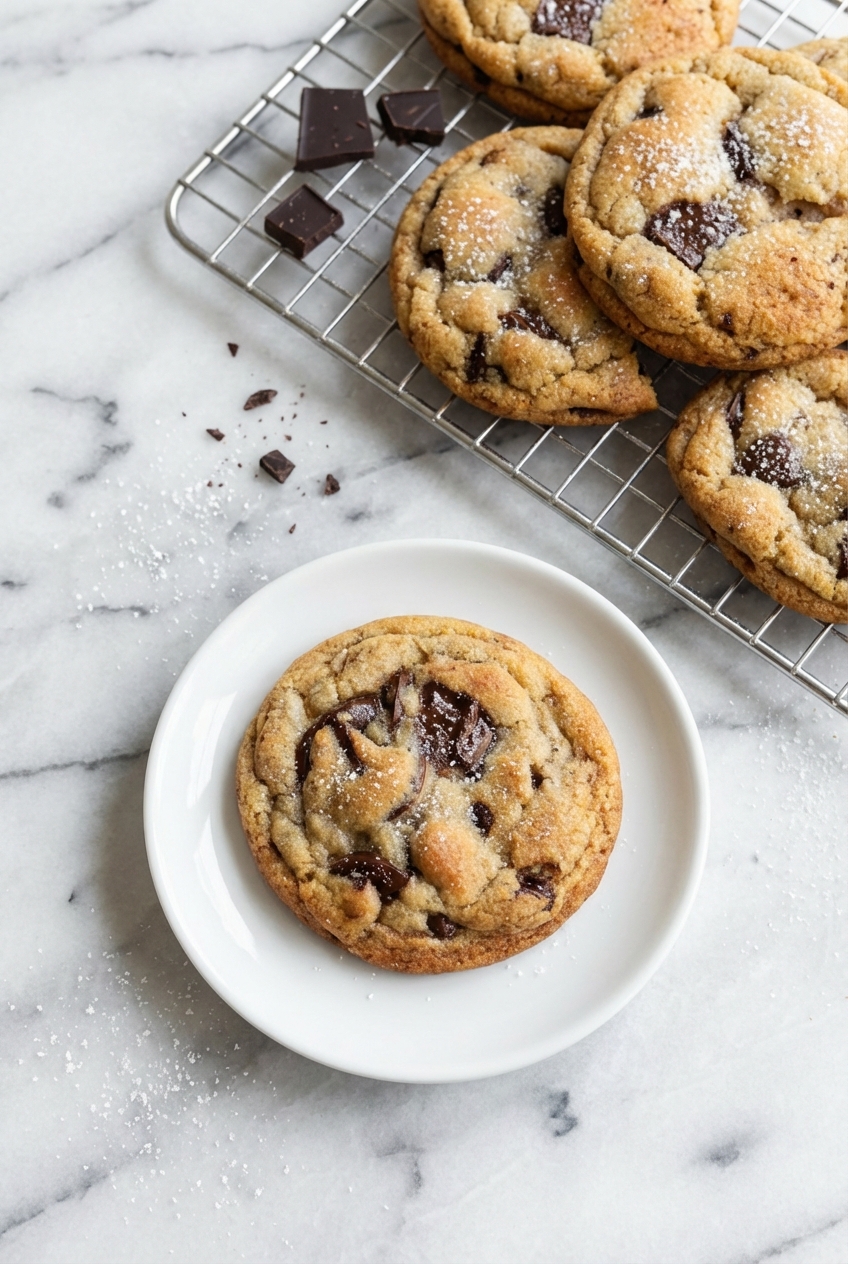
- Let the cookies cool on the baking sheet for 2 minutes before carefully transferring them to a wire rack to finish cooling completely.
Secrets for Cookie Perfection
Compensating for Water Loss: Did you know that butter loses about 20% of its weight in water during the browning process? That’s why I add an extra tablespoon of milk to the dough. This simple trick replaces the lost moisture, preventing a crumbly texture and ensuring your cookies stay wonderfully chewy.
Temperature Matters: Baking these cookies at 375°F (a bit higher than the standard 350°F) is a deliberate choice. The higher temperature promotes quicker caramelization on the edges, giving you that delightful crispness, while still allowing the center to remain soft and gooey.
The Weight Logic: I can’t emphasize enough the necessity of a kitchen scale. It ensures your fat-to-flour ratio is absolutely perfect. This precision is key to achieving cookies that spread just right, avoiding either thin, greasy puddles or overly cakey, dense pucks. For a deeper dive into rich, chewy profiles, consider exploring these decadent brownie cookies.
Pro Tips & Troubleshooting
Pro Tips
- Sea Salt Finish: For an extra layer of flavor and a beautiful visual, sprinkle a pinch of flaky sea salt, like Maldon, over the cookies immediately after they come out of the oven, while the chocolate is still glistening and melty.
- Toffee Style: If you adore a richer, more profound molasses and toffee profile, simply swap out the light brown sugar for dark brown sugar. It deepens the flavor wonderfully.
- Espresso Boost: To truly make the chocolate notes sing, try adding 1 teaspoon of espresso powder to your dry ingredients. It won’t make your cookies taste like coffee, but it will intensify the chocolate flavor beautifully.
Common Mistakes
- Walking Away: Browning butter requires your full attention. It can transform from nutty and golden to burnt and acrid in less than 10 seconds, so never leave it unattended.
- Overmixing: Once you add the flour, mix the dough only until just combined. Overworking the dough develops gluten, which can lead to tough, bread-like cookies rather than the soft, chewy texture we’re aiming for.
- Wrong Butter State: Using warm, liquid brown butter will cause your cookies to spread excessively, resulting in thin, greasy puddles. Ensure your butter is properly cooled and opaque before incorporating it into the sugars. For those seeking deep chocolate flavor with less fuss, these brownie mix cookies offer a convenient alternative when you’re short on time.
Serving & Storage
Serving Ideas
There’s nothing quite like a warm brown butter chocolate chip cookie straight from the oven. I love to serve them with a tall glass of cold whole milk to perfectly balance their richness. They also make an incredible base for premium vanilla bean ice cream sandwiches.
Storage & Make-Ahead
These cookies stay wonderfully soft for days when stored in an airtight container. For an extra trick to maintain humidity, you can even add a slice of bread to the container. If you want to bake fresh cookies anytime, simply roll the dough into balls and freeze them on a baking tray. Once solid, transfer them to a freezer-safe bag. When you’re ready to bake, just place the frozen dough balls on a baking sheet and add an extra minute or two to the baking time.
These cookies are always a hit on a dessert table. Pair them with a classic fudgy brownie recipe for a truly decadent chocolate feast.
Brown Butter Chocolate Chip Cookies With Toffee Notes
Ingredients
Equipment
Method
- Melt 140g of salted butter in a small saucepan over medium heat until it comes to a gentle simmer and you hear it crackle.
- Stir in 1 tablespoon of dry milk powder and continue stirring constantly as the foam densifies and turns golden to accelerate the Maillard reaction.
- Watch for golden-brown flecks and a rich nutty aroma. Immediately pour the butter into a heat-proof bowl to stop the cooking process.
- Allow the butter to cool at room temperature for 10 minutes then transfer to the freezer for another 10 minutes until it reaches a thick opaque consistency.
- In a medium bowl whisk together the 230g flour, 3/4 teaspoon baking soda, and 1/4 teaspoon salt until thoroughly combined.
- In a separate large bowl combine the cooled brown butter with granulated sugar and light brown sugar. Mix gently until it resembles thick wet sand.
- Add the egg, milk, and vanilla extract to the butter mixture and mix until creamy, being careful not to over-aerate the dough.
- Gradually fold the dry ingredients into the wet mixture. Add the chocolate chunks and chips just before the flour is fully incorporated, mixing until no dry streaks remain.
- Cover the bowl tightly and refrigerate the dough for 1 to 2 hours to allow the flavors to meld and the fats to solidify.
- Preheat your oven to 375°F (190°C). Roll the dough into smooth balls and place them 3 inches apart on prepared baking sheets.
- Bake for 8 to 10 minutes until the edges are golden but the centers are still soft. Give the pan a firm bang on the counter immediately after removing from the oven to create ripples.
- Let the cookies rest on the baking sheet for 2 minutes before transferring them to a wire rack to cool completely.
Notes
Conclusion
There you have it, the ultimate guide to mastering brown butter chocolate chip cookies, infused with my unique milk powder twist. This recipe isn’t just about ingredients; it’s about technique, patience, and the joy of creating something truly extraordinary. I encourage you to embrace the process, savor the aromas, and delight in the incredible flavors. Go forth, bake, and share your results! You’re now equipped to create professional-grade cookies right in your own kitchen.
Frequently Asked Questions
How do I prevent my cookies from spreading too much?
What is the difference between browning butter and just melting it?
Can I freeze the cookie dough balls for later?
Why is my cookie dough crumbly after browning the butter?
Should I use chocolate chips or chopped chocolate bars?
Printable Recipe Card
Want just the essential recipe details without scrolling through the article? Get our printable recipe card with just the ingredients and instructions.