Welcome to my kitchen, where I believe that healthy, delicious weeknight meals should never be a compromise. If you are like my family, you are always searching for quick and easy recipes that everyone at the table will love. That is exactly what we are creating today with these baked chicken tenders.
These are not just any chicken tenders; I will share my expert tips to achieve perfectly juicy chicken on the inside with an irresistibly crispy exterior, all without the fuss of traditional breading. You are about to discover a game-changing secret to ultimate crispiness, ensuring your family asks for these again and again.
Why You’ll Love This Recipe
The true magic behind these truly crispy, golden brown baked chicken tenders, without any breading, comes down to a simple two-step process. First, we give the marinated chicken a light dredge in cornstarch or arrowroot powder before it goes into the oven. This starch acts as a moisture absorber, preparing the surface for an incredible crisp.
Second, we introduce a brief finish under the broiler at 400F (200C). This high heat quickly crisps and browns the chicken through the Maillard reaction, providing that satisfying crunch without needing extra breading or added fat. It is a healthier alternative that does not sacrifice flavor or texture.
This recipe guarantees crispy and juicy results every time, ensuring a tender interior with a satisfyingly crisp crust. Baking instead of frying makes this a healthier option, ideal for low-carb, keto, and general healthy eating plans.
It is a quick and easy weeknight meal, perfect for busy families and fantastic for meal prep. Plus, the flavor is easily customizable, allowing you to adapt the seasonings to your personal preference.
Ingredients Needed

- 1 pound chicken breast tenders (about 8-10)
- 2 tablespoons avocado oil (or your favorite cooking oil)
- 2 tablespoons tamari
- 1 teaspoon garlic powder
- 1 teaspoon Italian seasoning
- 1/4 teaspoon black pepper
Ingredient Notes & Substitutions
For this recipe, chicken breast tenders, also known as chicken tenderloins, are ideal because of their uniform size and quick cooking time. If you only have full chicken breast on hand, simply slice it lengthwise into uniform tender-sized pieces, about 1-inch thick, to ensure even cooking.
I prefer avocado oil for its high smoke point and neutral flavor, but you can certainly use other cooking oils. Olive oil or vegetable oil are good alternatives if avocado oil is not available in your pantry.
Tamari is my go-to here because it is a gluten-free soy sauce alternative, offering that same savory umami depth. If you do not have gluten sensitivities, regular low-sodium soy sauce can be used interchangeably.
The seasoning blend of garlic powder and Italian seasoning provides a delicious base. This recipe is incredibly versatile, so feel free to experiment. You can try adding other spices like thyme, marjoram, paprika, or onion powder to customize the flavor profiles. For those who enjoy a little heat, a pinch of cayenne pepper is a great addition.
The unique twist ingredient, cornstarch or arrowroot powder, is entirely optional but highly recommended for an extra crispy exterior. This light dredge helps absorb surface moisture and contributes to the Maillard reaction, giving you a beautiful golden crisp.

How to Make Crispy Baked Chicken Tenders
Let us get started on creating these perfectly crispy, juicy baked chicken tenders!
Step 1: Preheat and Prepare Your Baking Sheet
First, preheat your oven to 350F (175C). While the oven heats, set aside a rimmed baking sheet. If you plan to use the unique broil finish for extra crispiness, remember to increase your oven temperature to 400F (200C) before you begin the broil step, and ensure your baking sheet is broiler-safe. For even crispier results, consider placing a wire baking rack on top of your rimmed baking sheet. This allows air to circulate around all sides of the tenders, preventing them from sitting in any rendered fat or moisture.
Step 2: Marinate and Dredge for Flavor and Crispness
In a medium bowl, combine your chicken tenders with the avocado oil, tamari, garlic powder, Italian seasoning, and black pepper. Toss to ensure each tender is beautifully coated in the aromatic spices and savory marinade. Allow the tenders to marinate briefly while your oven preheats; even 10-15 minutes can significantly enhance their flavor absorption. Before placing them on the baking sheet, lightly dredge each marinated chicken tender in 1-2 tablespoons of cornstarch or arrowroot powder, tapping off any excess. This light coating is our secret to a crispy, golden exterior.
Before marinating, if your chicken tenderloins have the tough white tendon visible, I recommend removing it. You can easily do this by holding one end of the tendon with a paper towel for grip and sliding a fork underneath it. Pull the tender through the fork tines to separate the tendon cleanly.
Step 3: Bake and Finish with a Broiler Boost
Once marinated and lightly dredged, transfer the chicken tenders to your prepared baking sheet or wire rack, arranging them in a single layer. Make sure they are not touching, as this ensures even baking and optimal crispiness. Bake them in the preheated 350F (175C) oven for 15 minutes. To achieve that ultimate golden brown and extra crispy finish, turn your oven up to 400F (200C) for the last 1-2 minutes of cooking, utilizing the broiler function. Keep a close eye on them to prevent burning.
The most accurate way to know when your chicken tenders are perfectly cooked and safe to eat is to use an instant-read meat thermometer. Insert it into the thickest part of a tender; it should read an internal temperature of 165F (74C). If you removed the tendon and the tenders have split, the chicken may be finished cooking before the 15 minutes. Always use a meat thermometer for the most accuracy and to avoid undercooked or overcooked chicken tenders.
Step 4: Serve and Store
Serve these perfectly crispy baked chicken tenders immediately with your favorite dipping sauce and delicious side dishes. Any leftover chicken tenders can be stored in an airtight container in the refrigerator for up to 4 days, ready for quick lunches or another easy dinner.
Cooking Alternatives: Air Fryer & Baking Rack Tips
Sometimes, I want that extra crispness or a quicker cooking method. Here are some alternatives.
Air Fryer Method
These chicken tenders cook beautifully in an air fryer, often yielding an even crispier result. Preheat your air fryer to 375F (190C). Arrange the dredged chicken tenders in a single layer in the air fryer basket, ensuring not to overcrowd it. You may need to cook in batches. Air fry for 10-14 minutes, flipping them halfway through, until they are golden brown and an instant-read meat thermometer registers 165F (74C). The air fryer works wonders for quick, crispy tenders.
The Baking Rack Advantage
Using a baking rack, placed on top of a rimmed baking sheet, is a game-changer for achieving maximum crispiness. The rack elevates the chicken tenders, allowing hot air to circulate freely around all sides. This improved air circulation prevents the bottom of the tenders from sitting in rendered fat or moisture, which would otherwise steam them rather than crisp them. The result is consistently crispy tenders from every angle.
Pro Tips & Troubleshooting
Mastering baked chicken tenders is simple with these expert insights.
Pro Tips
For accurate doneness and perfectly juicy chicken every time, always use an instant-read meat thermometer. The internal temperature of chicken tenders should reach 165F (74C) to be safe and avoid overcooking, which is the quickest way to dry out your chicken.
Tendon removal is a small step that makes a big difference in texture. To easily remove the tough tendon from chicken tenderloins, hold one end of the tendon firmly with a paper towel for grip. Then, slide a fork underneath the tendon where it meets the chicken and pull the chicken through the fork tines. This will separate the tendon cleanly and quickly.
Marination magic happens even with a short soak. Allowing your tenders to marinate briefly while the oven preheats significantly enhances their flavor absorption, leading to more flavorful chicken. Even 10-15 minutes makes a difference.
A single layer is key for optimal crispiness. Always arrange your chicken tenders in a single layer on the baking sheet or rack, ensuring they do not touch. Overcrowding the pan will cause the chicken to steam instead of bake, hindering that desired crispiness.
For the ultimate crispiness boost, remember my unique twist: the light cornstarch dredge before baking, followed by a brief finish under the broiler. This combination results in truly golden brown and extra crispy tenders without breading.
Common Mistakes to Avoid
Overcooking chicken tenders is the most common mistake, which inevitably leads to dry, tough chicken. Always rely on your instant-read meat thermometer to ensure they reach 165F (74C) and remove them promptly.
Skipping tendon removal can result in a chewy texture, which can be off-putting. Taking a moment to remove the tendon significantly improves the eating experience.
Crowding the pan is another pitfall. When tenders are too close together, they release moisture that steams the chicken rather than baking it, preventing them from getting properly crispy.
Forgetting the starch will result in less crispy tenders. If you desire that amazing crunch, do not skip the light dredge in cornstarch or arrowroot powder.
Serving & Storage
Serving Ideas
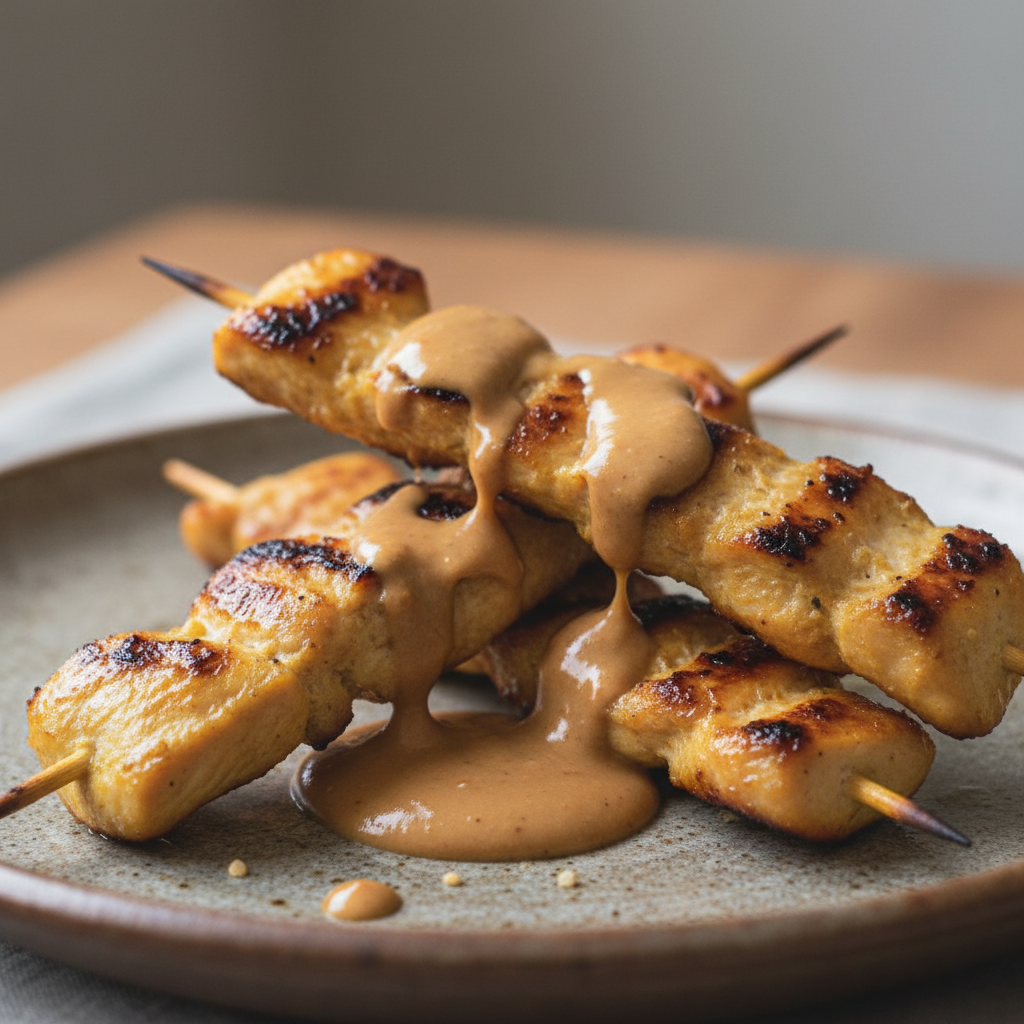
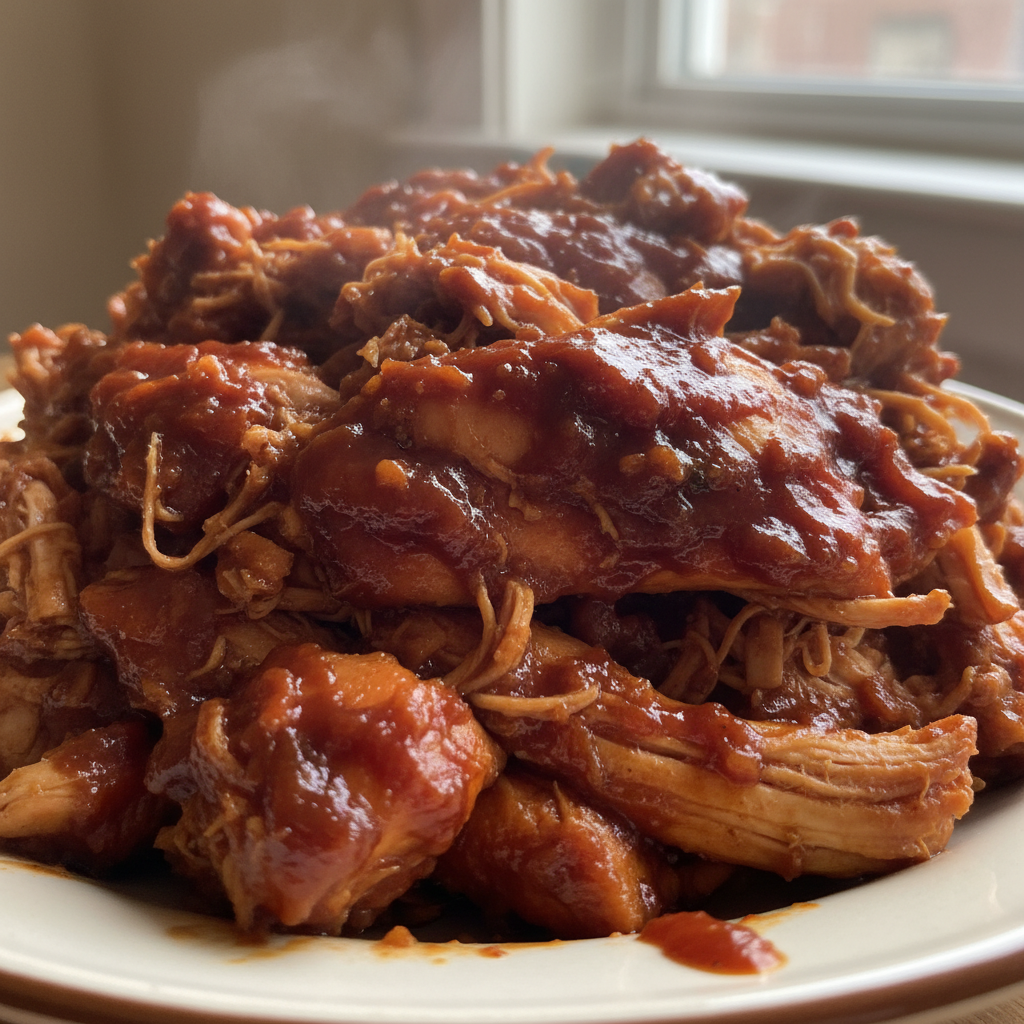
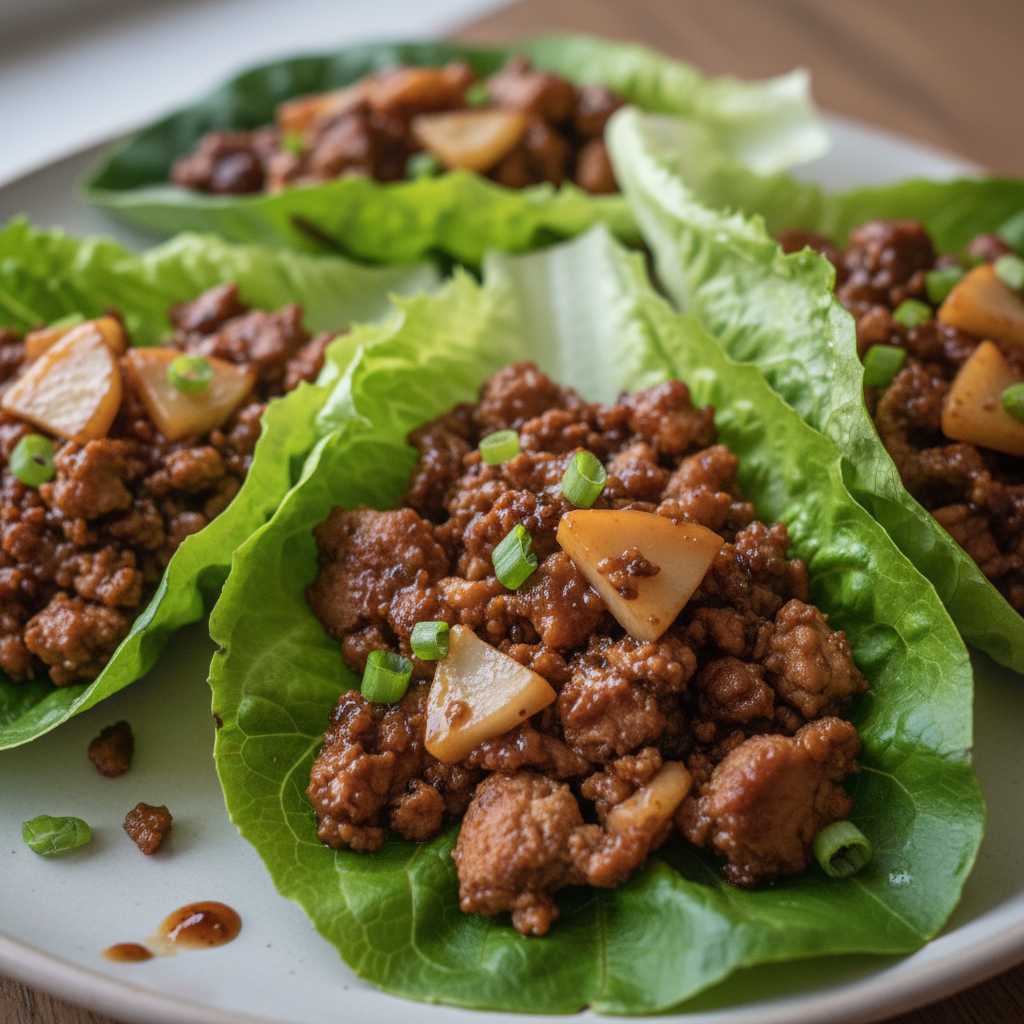
These crispy baked chicken tenders are incredibly versatile when it comes to serving. For dipping sauces, move beyond just the favorite and try honey mustard, classic BBQ, creamy ranch, spicy sriracha mayo, or a refreshing lemon-herb yogurt dip. They are perfect for dipping!
For side dishes, the options are endless. Consider mashed cauliflower for a low-carb choice, a fresh green salad, roasted vegetables like broccoli or asparagus, fluffy rice, or crispy sweet potato fries. You can also shred the cooked tenders to use in pitas, wraps, or chicken salad sandwiches.
Pair these tenders with light, refreshing drinks such as iced tea or sparkling water to complete your meal.
Storage and Make-Ahead
Store leftover chicken tenders safely in an airtight container in the refrigerator for up to 4 days. This makes them perfect for meal prep throughout the week.
To reheat baked chicken tenders and maintain their quality and crispness, I recommend avoiding the microwave if possible, as it can make them rubbery. For best results, reheat them in the oven at a low temperature, around 300F (150C), until warmed through, then give them a quick blast at a higher heat or under the broiler for a minute or two to crisp them up. An air fryer is also excellent for quickly crisping up leftovers.
For meal prep, you can freeze cooked chicken tenders. Allow them to cool completely first. Then, for individual portions, you can initially freeze them in a single layer on a baking sheet before transferring them to a freezer-safe airtight container or bag. They will store well for up to 2-3 months. Thaw them in the refrigerator overnight before reheating.
Conclusion
I hope you are as excited as I am about these perfectly crispy, incredibly juicy, and flavorful baked chicken tenders. This recipe is an easy win for busy weeknights, offering a healthier alternative to fried chicken without sacrificing that satisfying crunch. With the unique twist of a light starch dredge and a quick broiler finish, along with the invaluable advice of using a meat thermometer, you can achieve outstanding results every time, even if you are new to cooking.
I encourage you to try this recipe in your kitchen, experiment with different seasoning variations to make it your own, and share your delicious creations. Happy cooking, and do not forget to print this recipe for future use!
FAQ
How do I prevent baked chicken tenders from drying out?
The key to preventing baked chicken tenders from drying out is precise cooking. Use an instant-read meat thermometer to ensure they reach exactly 165F (74C) and remove them from the oven immediately. Avoiding overcooking is crucial for juicy results. Also, ensure your tenders are not sliced too thin, as thinner pieces tend to dry out faster.
What is the ideal internal temperature for baked chicken tenders?
The ideal internal temperature for chicken tenders, for both food safety and optimal juiciness, is 165F (74C). Always use an instant-read meat thermometer inserted into the thickest part of the chicken to verify this temperature.
What are the best seasonings for oven-baked chicken tenders?
For flavorful oven-baked chicken tenders, my recipe uses a blend of garlic powder and Italian seasoning. However, you can easily customize this. Other excellent variations include thyme, marjoram, paprika, or onion powder. For a little heat, a pinch of cayenne pepper is a great addition.
Can I use chicken breast instead of tenderloins?
Yes, you can certainly use chicken breast instead of tenderloins. If using full chicken breasts, slice them into uniform, tender-sized strips, about 1-inch thick, to ensure they cook evenly and at a similar rate to tenderloins. Chicken breast tenders are ideal for convenience, but full breasts work well with a little prep.
How do I easily remove the tendon from chicken tenders?
To easily remove the tendon from chicken tenders, hold the end of the tendon firmly with a piece of paper towel for grip. Then, slide a fork underneath the tendon where it meets the chicken. Pull the tender through the tines of the fork to cleanly separate and remove the tendon.
How long can baked chicken tenders be stored in the refrigerator?
Cooked baked chicken tenders can be safely stored in an airtight container in the refrigerator for up to 4 days. This makes them excellent for meal prep throughout the week.
Can I make baked chicken tenders crispy without breading?
Absolutely! My recipe’s unique twist ensures crispy baked chicken tenders without breading. The secret is a light dredge in cornstarch or arrowroot powder before baking, followed by a brief high-heat broiler finish for the last 1-2 minutes until they are golden brown and extra crispy.
How can I adjust cooking times for different tender sizes?
While 15 minutes is a general guide, the exact cooking time for baked chicken tenders can vary based on their thickness and size. It is best to rely on an instant-read meat thermometer rather than fixed timing. Always aim for an internal temperature of 165F (74C). Thinner tenders will cook faster, while thicker ones may require a couple more minutes. Always check the temperature of the largest piece.
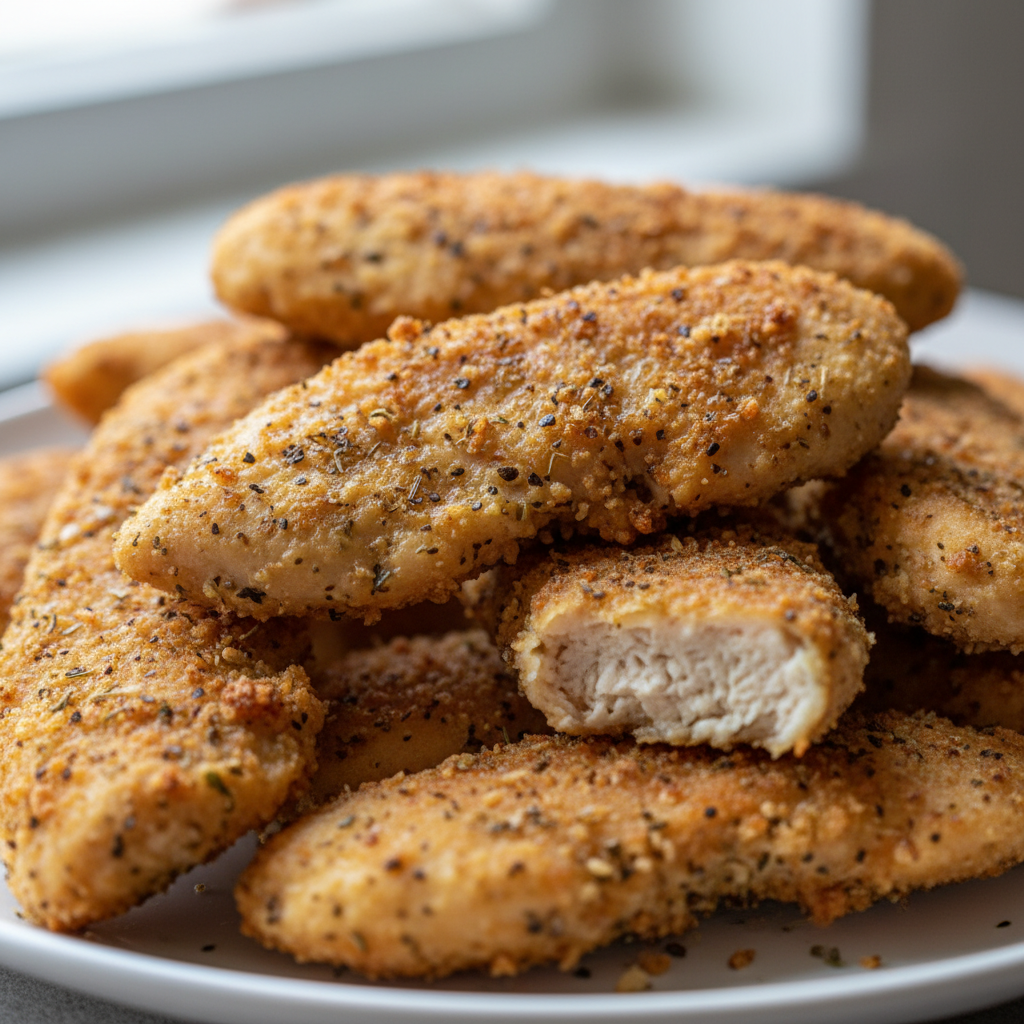
Perfectly Crispy Baked Chicken Tenders (No Breading Needed!)
Ingredients
Equipment
Method
- Preheat your oven to 350F (175C). Prepare a rimmed baking sheet, ensuring it is broiler-safe if you plan to use the broil finish. For even crispier results, place a wire baking rack on top of your baking sheet to allow air circulation.
- In a medium bowl, combine chicken tenders with avocado oil, tamari, garlic powder, Italian seasoning, and black pepper. Toss to coat evenly. Allow the tenders to marinate briefly while the oven preheats (10-15 minutes). Before placing on the baking sheet, lightly dredge each marinated tender in 1-2 tablespoons of cornstarch or arrowroot powder, tapping off any excess. If tenders have a tough white tendon, remove it by holding with a paper towel and sliding a fork underneath to pull it through.
- Transfer the marinated and dredged chicken tenders to the prepared baking sheet or wire rack in a single layer, ensuring they are not touching. Bake in the preheated 350F (175C) oven for 15 minutes. For an ultimate golden brown and extra crispy finish, increase your oven temperature to 400F (200C) and utilize the broiler function for the last 1-2 minutes, watching closely to prevent burning. Use an instant-read meat thermometer to ensure the thickest part of the tender reaches an internal temperature of 165F (74C).
- Serve these perfectly crispy baked chicken tenders immediately with your favorite dipping sauce and side dishes. Store any leftover chicken tenders in an airtight container in the refrigerator for up to 4 days.
Notes
Printable Recipe Card
Want just the essential recipe details without scrolling through the article? Get our printable recipe card with just the ingredients and instructions.