Skip to content
 Celebrate the season of love with a recipe that moves beyond the standard store-bought taste. These Valentine sugar cookies offer a professional-grade finish with a flavor profile that will surprise even the most seasoned bakers. Whether you are gifting these to a sweetheart or hosting a Galentine’s party, this guide ensures your hearts stay sharp and your icing stays glossy, making every bite a tender, unforgettable moment.
Why You’ll Love This Recipe
The Brown Butter and Cardamom Twist: In my kitchen, I discovered that unlike typical one-note cookies, we can use *beurre noisette*, or brown butter, to introduce toasted, nutty depths. A tiny pinch of cardamom then acts as a floral flavor enhancer that truly makes the vanilla sing, transforming these from simple treats into sophisticated Valentine sugar cookies.
Foolproof Shape Retention: No more blob-shaped hearts ruining your presentation! This method employs specific temperature controls, along with the crucial freezer step, to guarantee your cookies emerge from the oven with crisp, clean edges every single time, ready for your cookie cutter to shine.
Professional Gloss: I learned that the secret to that high-end bakery shine without any chemical aftertaste lies in adding a touch of corn syrup to our royal icing. This simple addition creates a beautiful, resilient glaze that sets perfectly, showcasing your decorating prowess.
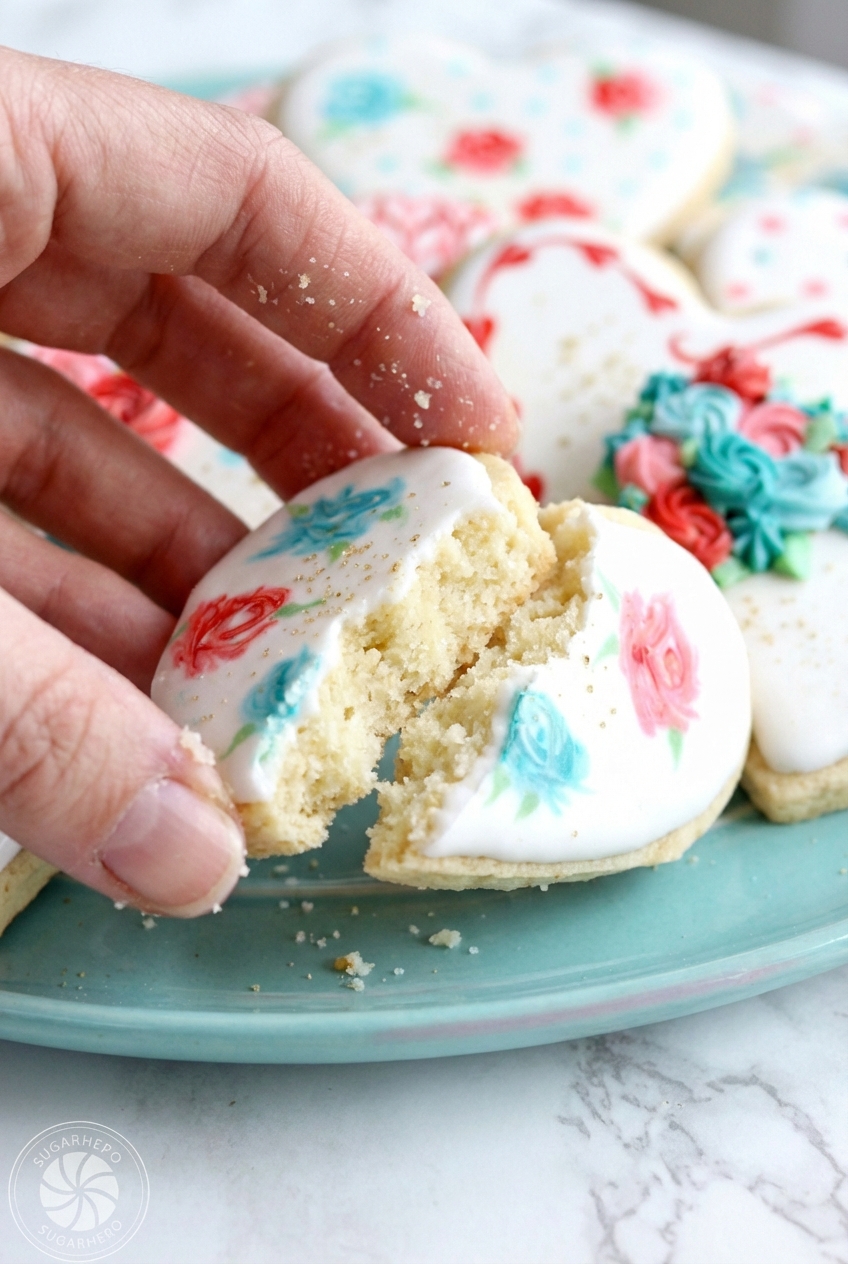
Sophisticated Flavor: The combination of nutty brown butter, rich vanilla extract, and a hint of sour cream creates an incredibly tender, buttery crumb. This intricate flavor profile makes these treats as delicious to eat as they are beautiful to behold, a true testament to thoughtful baking.
Ingredients Needed
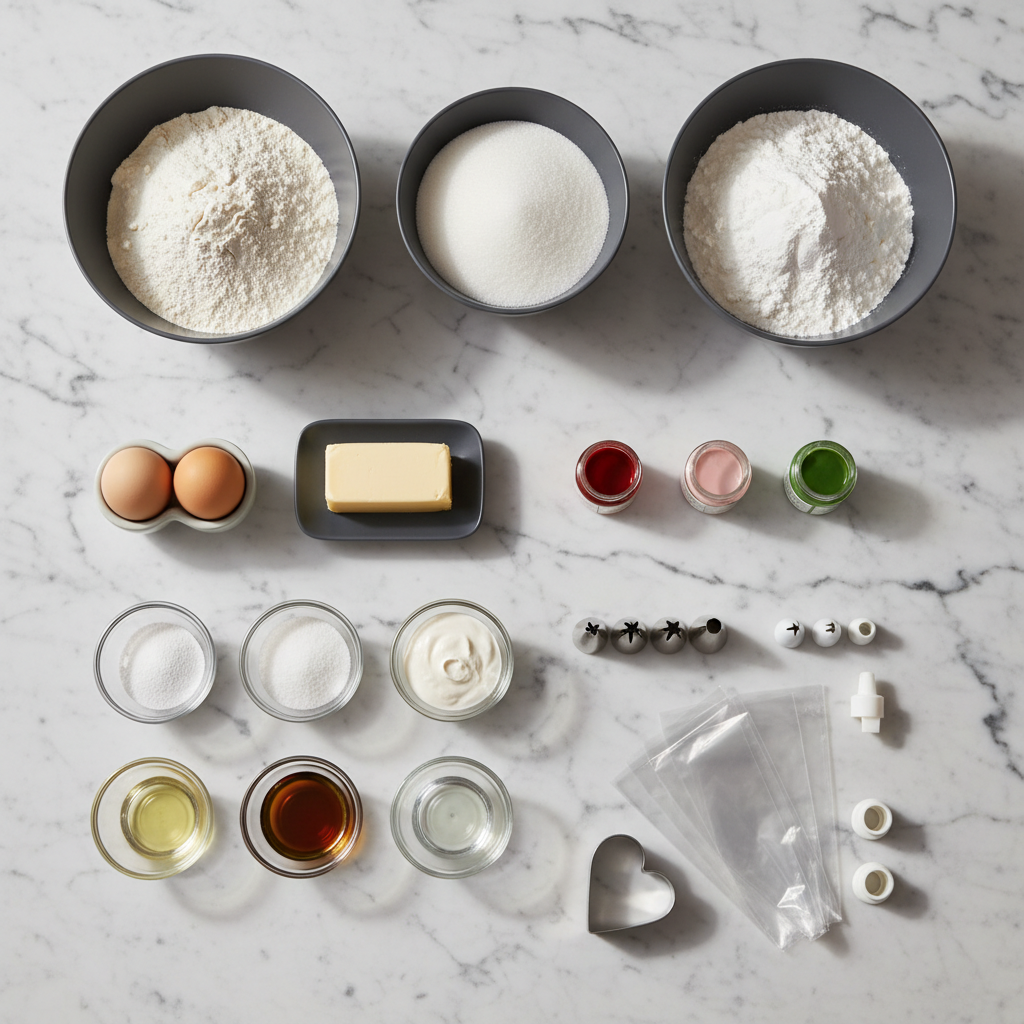
Crafting these exquisite Valentine sugar cookies begins with selecting the right foundation. Each ingredient plays a crucial role, from the delicate texture of the dough to the brilliant finish of the royal icing, ensuring a harmonious balance of flavor and appearance.
For the Sugar Cookies:
- 19 oz all-purpose flour
- 1 tsp salt
- 1 tsp baking powder
- 12.25 oz granulated sugar
- 8 oz unsalted butter at room temperature
- 2 large eggs at room temperature
- 1 tsp vanilla extract
- 1 oz sour cream at room temperature
For the Royal Icing:
- 1.8 oz meringue powder
- 3/4 cup water
- 24 oz powdered sugar
- 2 tsp light corn syrup
- 1/2 tsp almond extract
- Assorted gel food coloring
Ingredient Notes and Substitutions
Flour Accuracy: For perfect, tender cookies, using a kitchen scale for flour is always best. If you don’t have one, remember to spoon your all-purpose flour into the measuring cup and then level it off, rather than scooping directly, to avoid a dense, dry crumb.
The Sour Cream Secret: The small amount of sour cream is a game-changer here. It introduces a subtle tang that wonderfully balances the sweetness of the cookies and royal icing, while also adding a beautiful tenderness and moisture to the dough.
Butter Quality: Since we’ll be browning the butter, choose a high-quality unsalted butter. Its pure flavor will shine through, creating those irresistible nutty notes that elevate these Valentine sugar cookies far beyond the ordinary.
How to Make Valentine Sugar Cookies
Mastering the Brown Butter
Our journey to extraordinary Valentine sugar cookies begins by browning the butter. Melt the 8 oz unsalted butter in a light-colored saucepan over medium heat, stirring occasionally. Watch as it transforms from foamy to clear, then tiny golden-brown bits will begin to form at the bottom, releasing a distinct, nutty aroma. Immediately remove it from the heat once it’s a beautiful amber color, then transfer it to a heatproof bowl to cool slightly before we begin the creaming process.
Creating the Dough
- First, in a medium bowl, whisk together the 19 oz all-purpose flour, 1 tsp salt, and 1 tsp baking powder thoroughly to ensure everything is evenly distributed, then set this dry mixture aside.
- Next, in the bowl of your stand mixer fitted with a paddle attachment, combine the cooled brown butter with the 12.25 oz granulated sugar. Beat them together on medium speed for about 1-2 minutes until the mixture becomes wonderfully fluffy and fully incorporated, showing its light, airy texture.
- Add the 2 large eggs one at a time, making sure to beat well after each addition until fully absorbed. Then, stir in the 1 tsp vanilla extract and the 1 oz sour cream, mixing just until combined.
- With your mixer running on the lowest speed, gradually add the dry ingredients to the wet mixture. Mix until the flour is almost fully incorporated, but stop the mixer when you still see a few streaks of flour remaining. Use a spatula to scrape down the bottom and sides of the bowl, then finish mixing the dough by hand; this prevents overworking the gluten, which can make cookies tough.
Chilling, Rolling, and The Freezer Step
- Divide your freshly made dough in half and gently press each portion into a thin disc. Wrap each disc tightly with plastic wrap and refrigerate for about 30 minutes, allowing it to firm up just enough to be manageable but not too hard.
- When you are ready to bake, preheat your oven to 350°F (175°C). Take one disc of dough and place it between two sheets of parchment paper or waxed paper. Roll the dough out evenly until it reaches a consistent 1/4-inch thickness, which helps prevent sticking and ensures uniform cookies.
- Using a 3-inch heart cookie cutter, carefully cut out your cookies and arrange them neatly on a baking sheet lined with parchment paper. Gather any dough scraps, re-roll them gently, and cut out more heart shapes until all the dough is used.
- This next step is crucial for perfect shapes: place the baking sheets with your cut-out cookies into the freezer for 10 minutes before baking. This cold shock prevents spreading, locking in those crisp, beautiful heart outlines.
Baking to Perfection
Bake the chilled trays of cookies in your preheated oven for 10-12 minutes. Look for the edges to just begin taking on a very light golden hue, and the centers should lose their raw, wet shine. It’s vital to pull them before they start to significantly brown to keep them tender. Let them cool on the baking sheet for 5 minutes to firm up, then carefully transfer them to wire racks to cool completely before you even think about decorating. For another delicious twist using brown butter, consider trying these delightful brown butter cookies.
The Royal Icing Lab
- In the bowl of a large stand mixer fitted with a paddle attachment, combine the 1.8 oz meringue powder and 3/4 cup water. Mix them together on medium speed until the mixture becomes wonderfully foamy and aerated.
- Stop the mixer, then carefully sift the 24 oz powdered sugar over the bowl. Begin beating on low speed until the sugar is just incorporated. Scrape down the bottom and sides of the bowl thoroughly, then add the 2 tsp light corn syrup and 1/2 tsp almond extract for flavor and shine.
- Increase the mixer speed back to medium-high and beat for a full 5 minutes. You’ll know it’s perfect when the royal icing is shiny, stiff, a bright, voluminous white, and holds a definite peak.
- Divide your magnificent icing into separate bowls and add your assorted gel food coloring to achieve your desired shades. Press a piece of cling wrap directly onto the surface of each bowl of icing immediately to prevent it from forming a crust.
- For flooding your cookies, thin a portion of the icing with water, adding it a spoonful at a time. Mix gently until a trail of icing disappears back into the bowl in about 15 seconds; this consistency is key for a smooth, even flood.
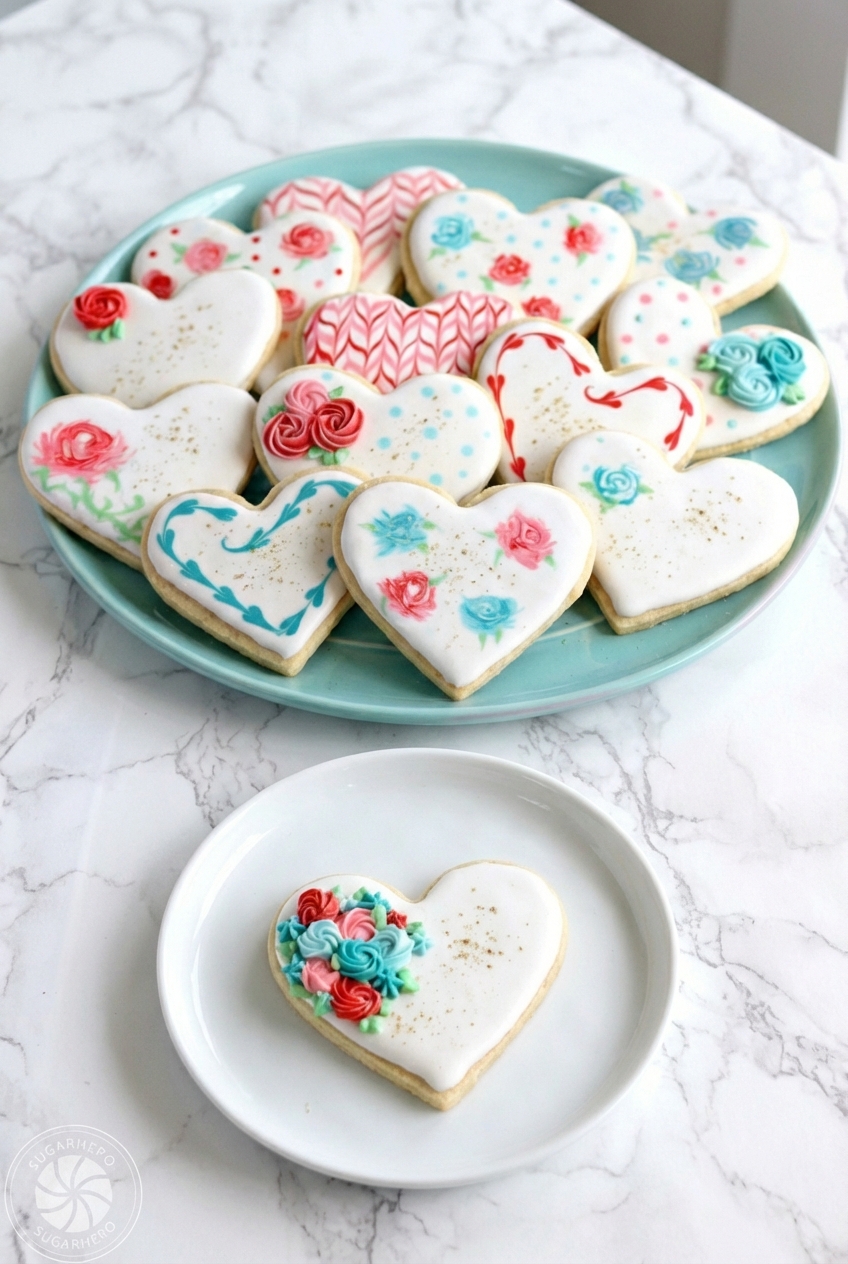
- Now, it’s time to flood the cookies! Draw a careful outline with your icing, then fill in the center completely. Use a clean toothpick to gently pop any air bubbles that appear, ensuring a perfectly smooth surface.
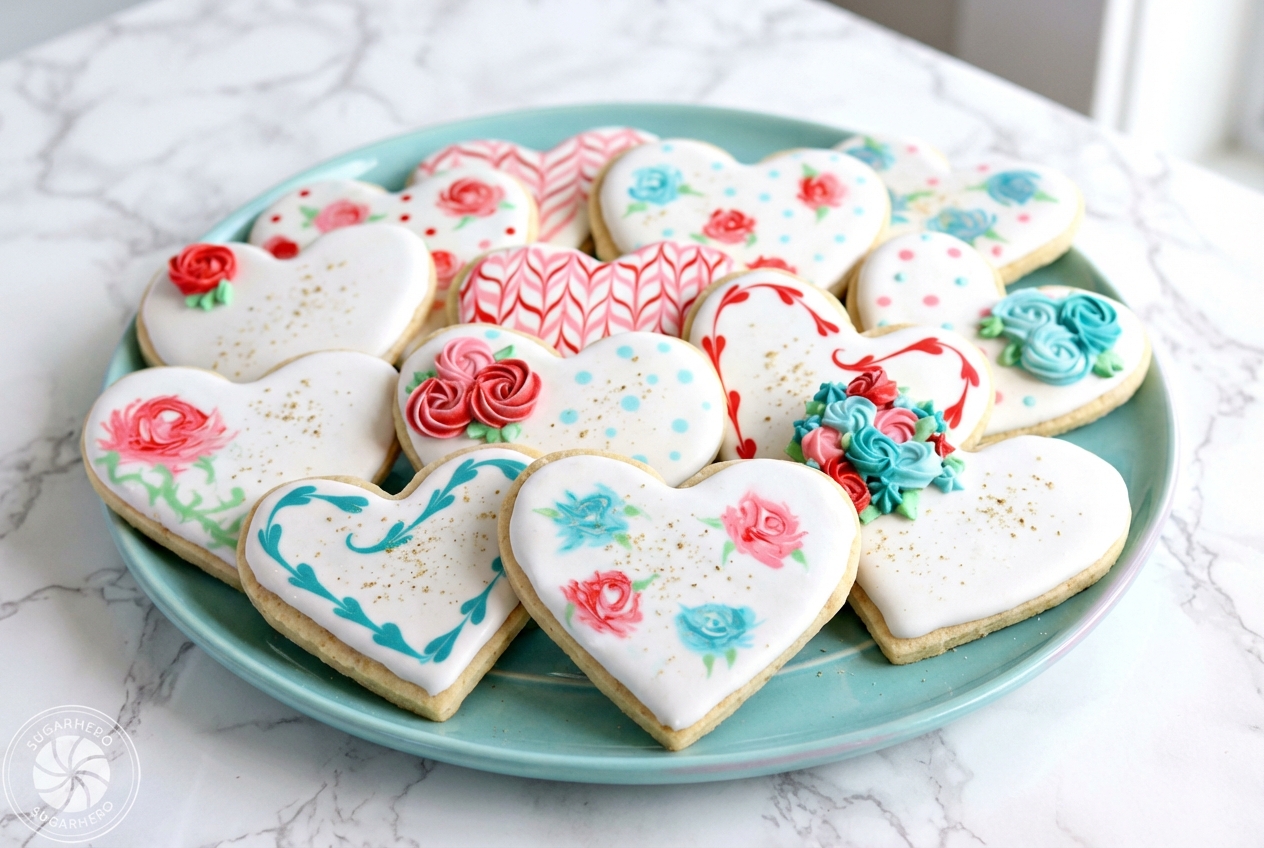
- Get creative with decorating while the base icing is still wet! You can create beautiful swirled hearts, charming zigzag patterns, or intricate rose designs. For elegant rosettes, however, you’ll need to wait until the base is completely dry (at least 1 hour) and use a stiffer consistency icing.
- Finally, allow your beautifully decorated Valentine sugar cookies to dry undisturbed for a full 12 hours before attempting to stack or package them. This ensures the royal icing hardens properly and prevents any smudging. It’s worth noting that overmixing your cookie dough can incorporate too much air, which can lead to a less tender cookie, so always mix until just combined. For more insights on this, you can read about the functions of baking ingredients from the University of Missouri Extension.
The Secrets to Flawless Heart Cookies
Oven Calibration: An oven thermometer is truly your best friend for precision baking, especially when making delicate items like Valentine sugar cookies. Ovens often have hot spots or inaccurate temperature readings, which can lead to uneven baking and cause your cookies to spread rather than hold their perfect heart shape. Knowing your oven’s true temperature ensures consistent results.
Humidity Troubleshooting: If you’re baking in a humid climate, drying royal icing can be a challenge. To help your beautifully decorated cookies set properly, consider using a dehydrator on its lowest temperature setting or simply place a table fan nearby to gently circulate air. This helps to speed up the drying process and prevent stickiness.
Natural Color Brilliance: For those who prefer to avoid artificial gel food coloring, beautiful pink hues can be achieved naturally. Try incorporating finely ground beet powder or a concentrated strawberry reduction into your icing. These natural alternatives offer lovely, subtle shades, keeping in mind the thermal stability of betalain pigments found in ingredients like beetroot.
Pro Tips and Troubleshooting
Professional Baking Tips
- The Cookie Scoot: While your cookies are still warm from the oven, use a large circular cutter or even the rim of a mug to gently “scoot” them into perfectly symmetrical heart shapes. This subtle movement can correct minor distortions from baking.
- Rolling Efficiency: To minimize handling and prevent delicate heart shapes from distorting, always roll your cookie dough directly on the parchment paper you intend to bake on. This eliminates the need to transfer the cut-out shapes.
Common Mistakes to Avoid
- Over-mixing Icing: Mixing royal icing at too high a speed introduces excessive air bubbles. These bubbles will rise to the surface as the icing dries, creating an undesirable, bumpy texture instead of that smooth, glossy “flood” finish.
- Warm Decorating: Patience is paramount! Never attempt to ice cookies that aren’t 100% cool. Even slight warmth will cause your perfectly prepared royal icing to melt, bleed, or run, ruining your intricate designs.
Serving and Storage
Creative Serving Ideas
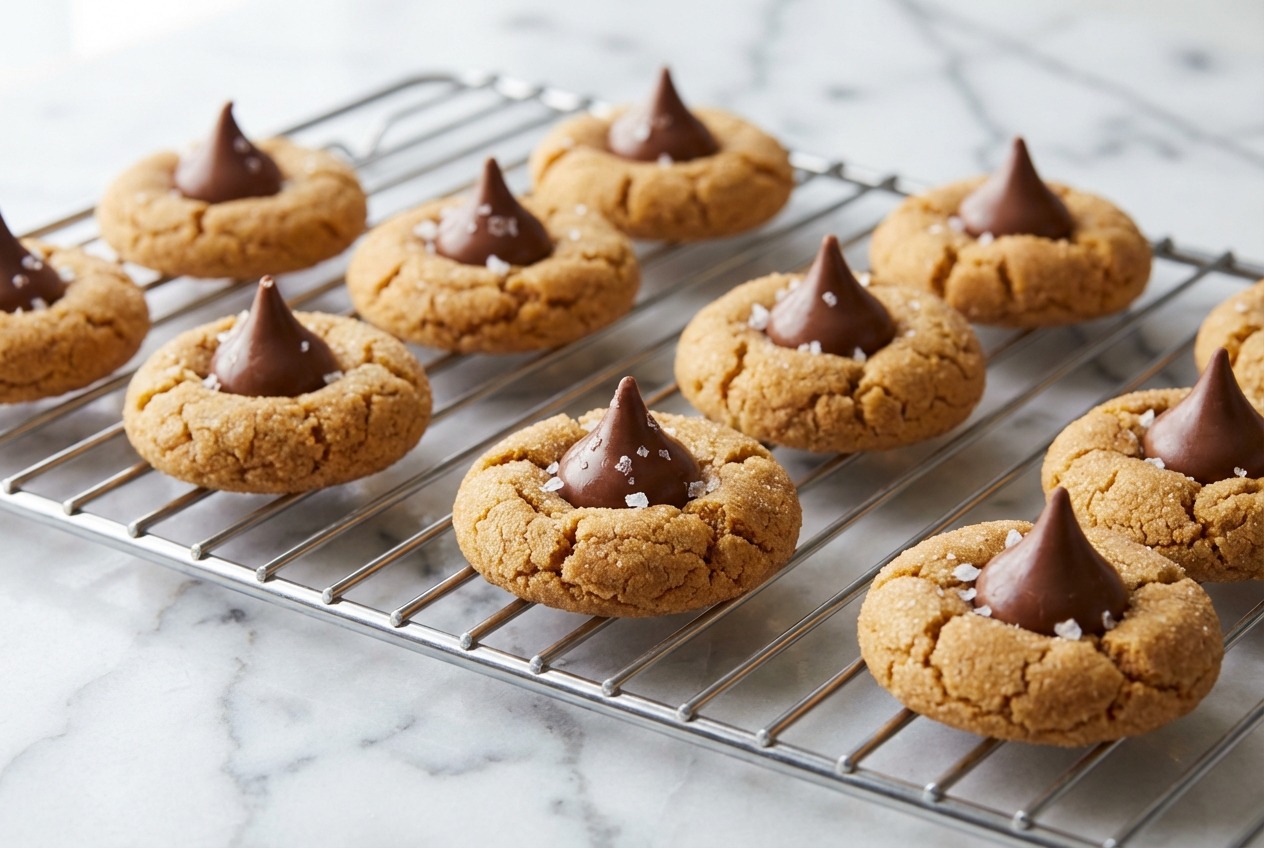
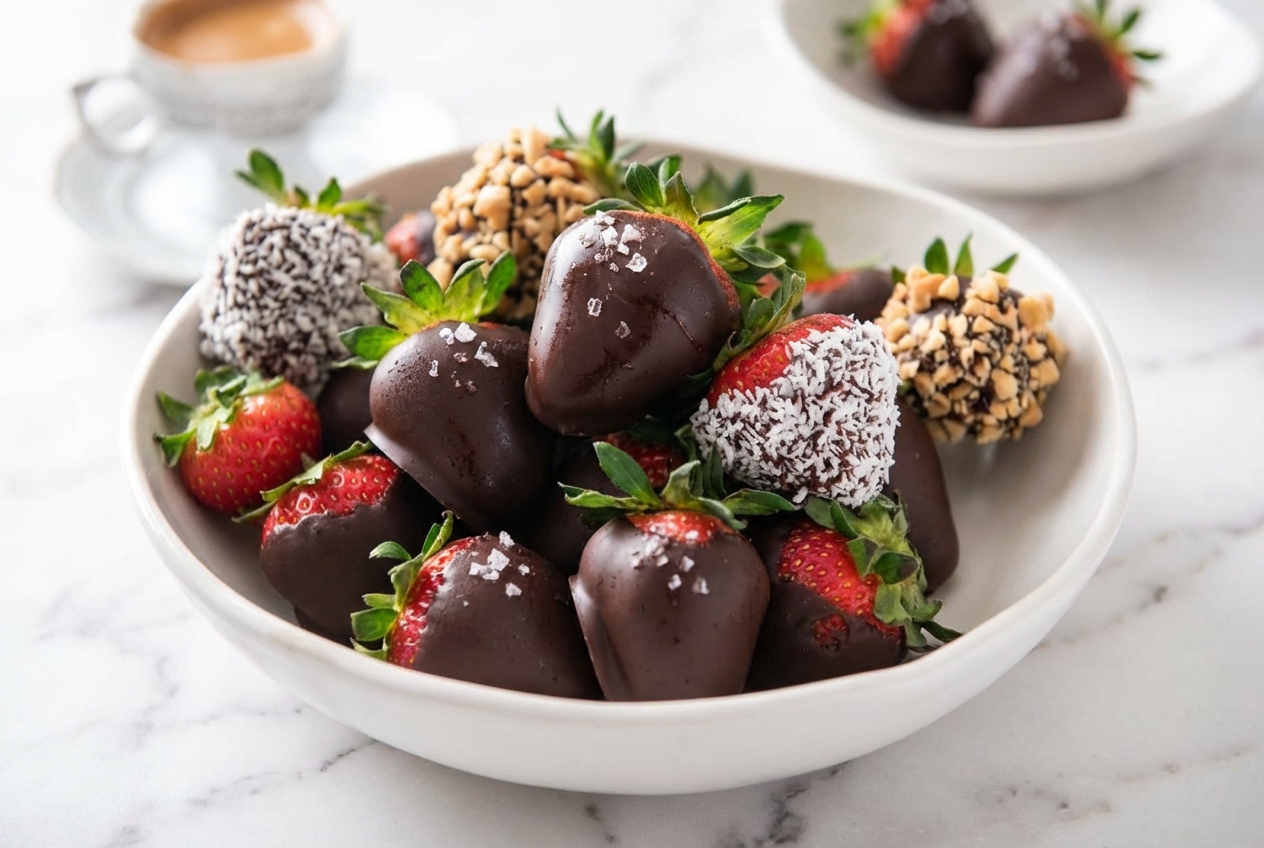
These beautiful Valentine sugar cookies are perfect for gifting or sharing. For a charming display, arrange them on a Valentine’s “charcuterie” board alongside classic conversation hearts and fresh strawberries, or even a few decadent chocolate covered strawberries. For individual gifting, bag them in clear cellophane tied with a festive red ribbon, perfect for classrooms, offices, or combining with other treats like delightful peanut butter blossoms.
Storage and Shipping Success
Your decorated Valentine sugar cookies will stay wonderfully fresh for up to 5 days when stored in an airtight container at room temperature. For shipping, the “snug fit” method is key: individually wrap each cookie in cellophane, then layer them tightly in a sturdy box, cushioning any gaps with bubble wrap or tissue paper to prevent breakage during their journey.
A Sweet Valentine’s Masterpiece
Creating these ultimate Valentine sugar cookies is more than just baking; it’s an act of love. From the moment the nutty aroma of brown butter fills your kitchen to the delicate crisp of the vanilla glaze, you’ll taste the passion in every bite. The tender, buttery crumb, elevated by a hint of cardamom, makes this recipe a true gourmet dessert, destined to impress and delight every sweetheart in your life. Don’t be afraid to try this unique twist; it’s a game-changer!
Ultimate Valentine Sugar Cookies With Brown Butter
Ingredients
Equipment
Method
- Melt the unsalted butter in a light-colored saucepan over medium heat, stirring occasionally. Once it turns amber with golden-brown bits and smells nutty, remove immediately from heat and transfer to a bowl to cool.
- Whisk the flour, salt, and baking powder in a medium bowl and set aside.
- In a stand mixer with a paddle attachment, beat the cooled brown butter and granulated sugar on medium speed for 1 to 2 minutes until light and fluffy.
- Add eggs one at a time, beating well after each. Stir in the vanilla extract and sour cream until just combined.
- Gradually add the dry ingredients on low speed. Stop when a few streaks of flour remain and finish mixing by hand with a spatula to avoid overworking the dough.
- Divide dough in half, press into discs, wrap in plastic, and refrigerate for 30 minutes.
- Preheat oven to 350°F (175°C). Roll one disc between parchment paper to a 1/4-inch thickness.
- Cut out heart shapes with a 3-inch cutter and place on a lined baking sheet. Re-roll scraps as needed.
- Place the trays of cut cookies in the freezer for 10 minutes before baking to ensure they hold their shape.
- Bake for 10 to 12 minutes until edges are barely golden and centers are set. Cool on the sheet for 5 minutes before moving to a wire rack to cool completely.
- Mix meringue powder and water on medium speed until foamy. Sift in powdered sugar and beat on low.
- Add corn syrup and almond extract, then increase speed to medium-high and beat for 5 minutes until shiny and stiff peaks form.
- Divide icing, color with gel, and thin with water as needed to reach a 15-second flooding consistency.
- Outline and flood the cookies, popping air bubbles with a toothpick. Allow decorated cookies to dry undisturbed for 12 hours.
Notes
Frequently Asked Questions
How do I keep my sugar cookies from spreading?
Can I make the dough in advance?
What is the difference between icing and frosting for cookies?
How long do these cookies stay fresh?
Do I need to refrigerate the dough?
Printable Recipe Card
Want just the essential recipe details without scrolling through the article? Get our printable recipe card with just the ingredients and instructions.