Skip to content
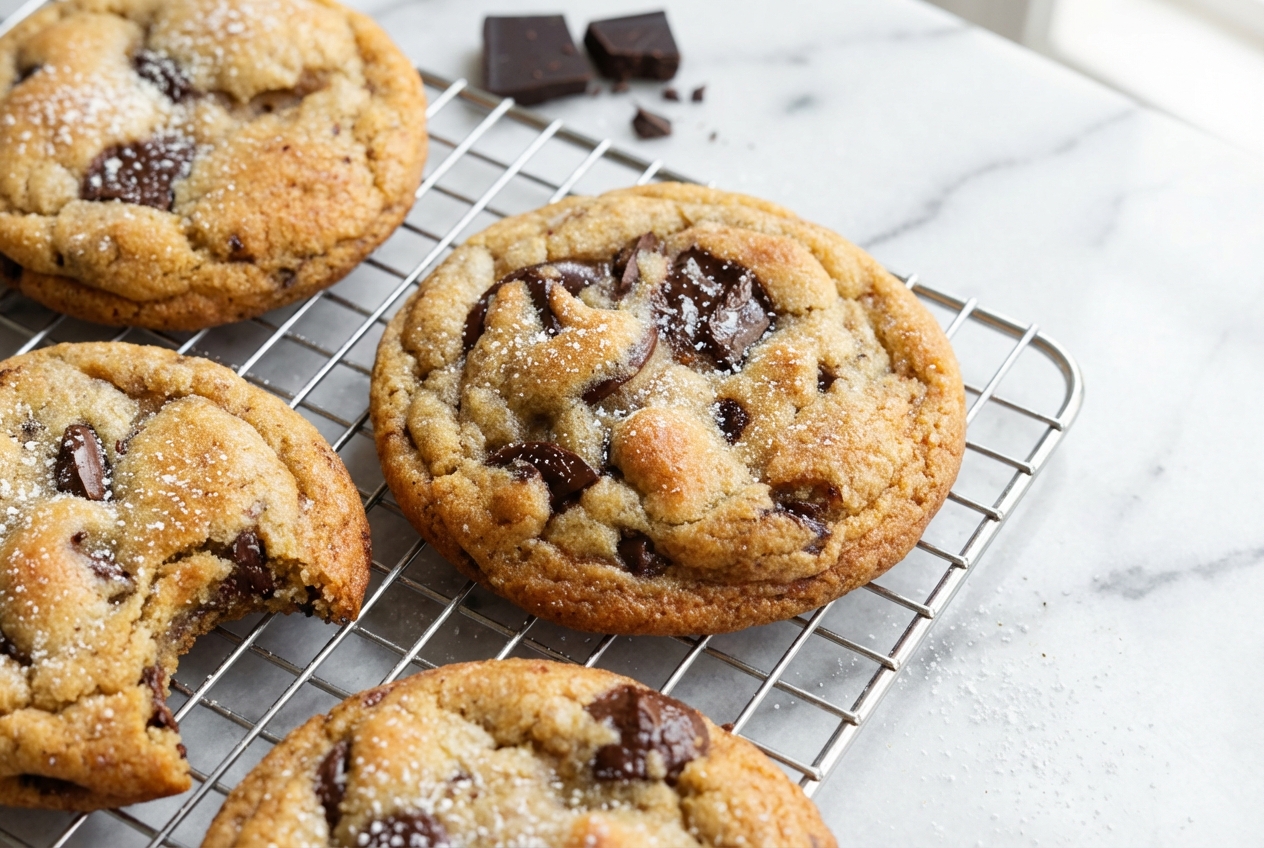
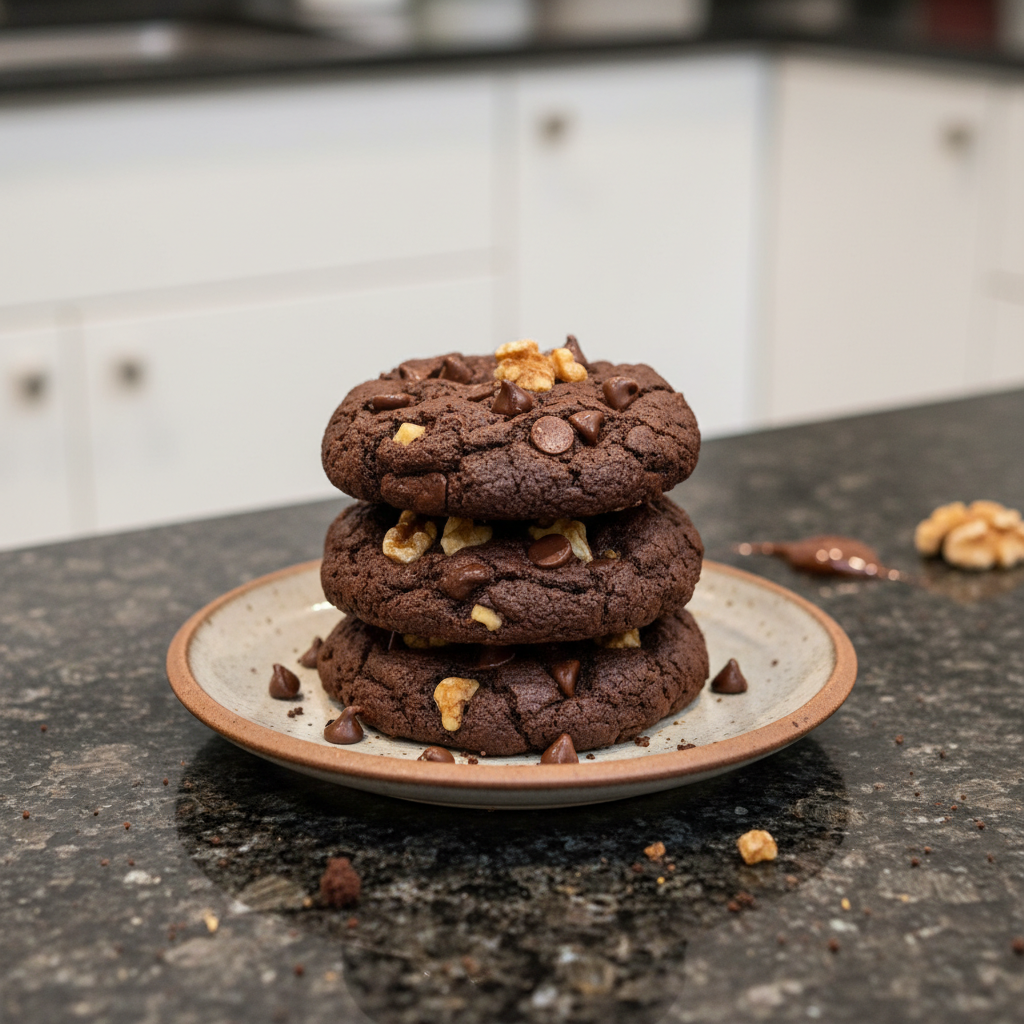
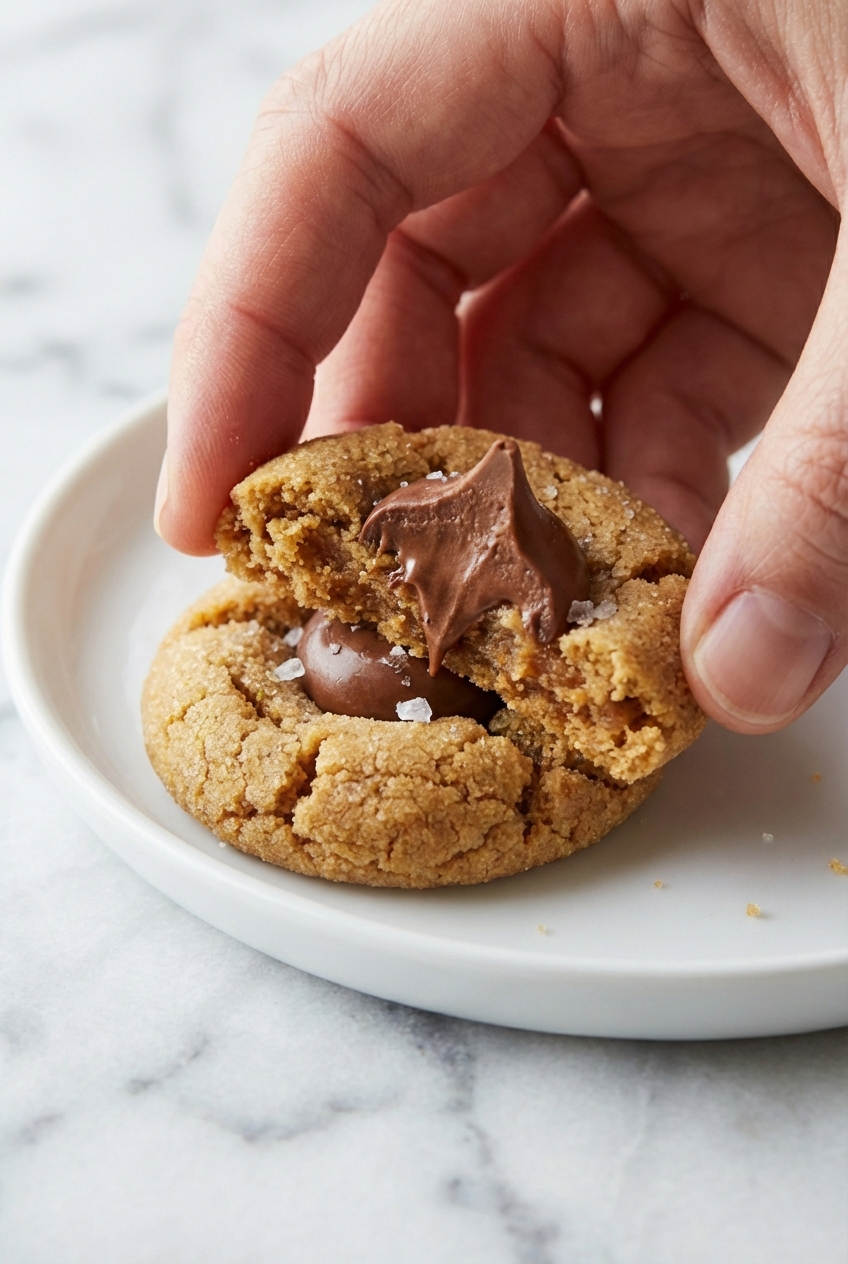
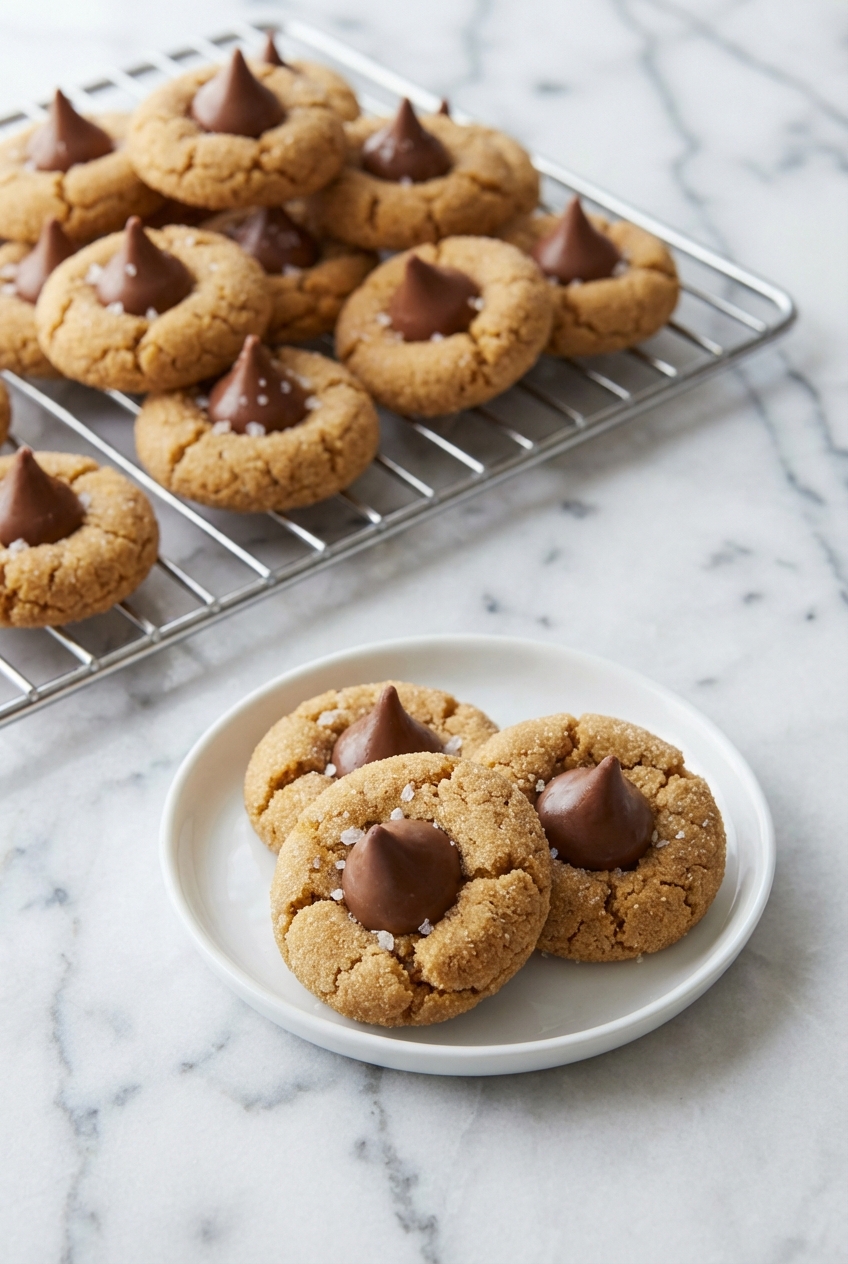
 There’s a special kind of magic that fills the kitchen during the holidays, a warmth that comes from mixing, baking, and sharing. For me, few cookies evoke that feeling quite like the classic peanut butter blossom. These iconic cookies, with their signature sugary crust and soft, peanut-buttery chew, topped with a melt-in-your-mouth chocolate kiss, have graced countless cookie platters across America.
This recipe takes that cherished tradition and elevates it with a secret ingredient: brown butter and a sprinkle of flaky sea salt. It’s a simple twist that transforms a beloved classic into something truly extraordinary, promising a cookie that’s even more fragrant, flavorful, and utterly irresistible.
Why You’ll Love This Recipe
The Brown Butter Secret: By browning the butter, we unlock a whole new dimension of nutty, toasted flavor. This Maillard reaction creates deep, complex notes that make these peanut butter blossom cookies far more sophisticated than their traditional counterparts.
A Salty Sweet Symphony: A tiny pinch of flaky Maldon sea salt on top of each chocolate kiss is a game-changer. It creates a subtle “salted caramel” effect, perfectly balancing the sweetness of the milk chocolate and the rich peanut butter.
Perfectly Chewy Texture: These cookies are designed to be wonderfully soft and chewy on the inside, with those beautiful, crinkled edges. The brown butter doesn’t just add flavor, it also contributes to that tender, melt-in-your-mouth texture that everyone adores.
Ingredients and Substitutions
Crafting the perfect peanut butter blossom begins with a careful selection of ingredients. Each component plays a crucial role in achieving that beloved texture and rich, nutty flavor, especially when incorporating our special brown butter twist.
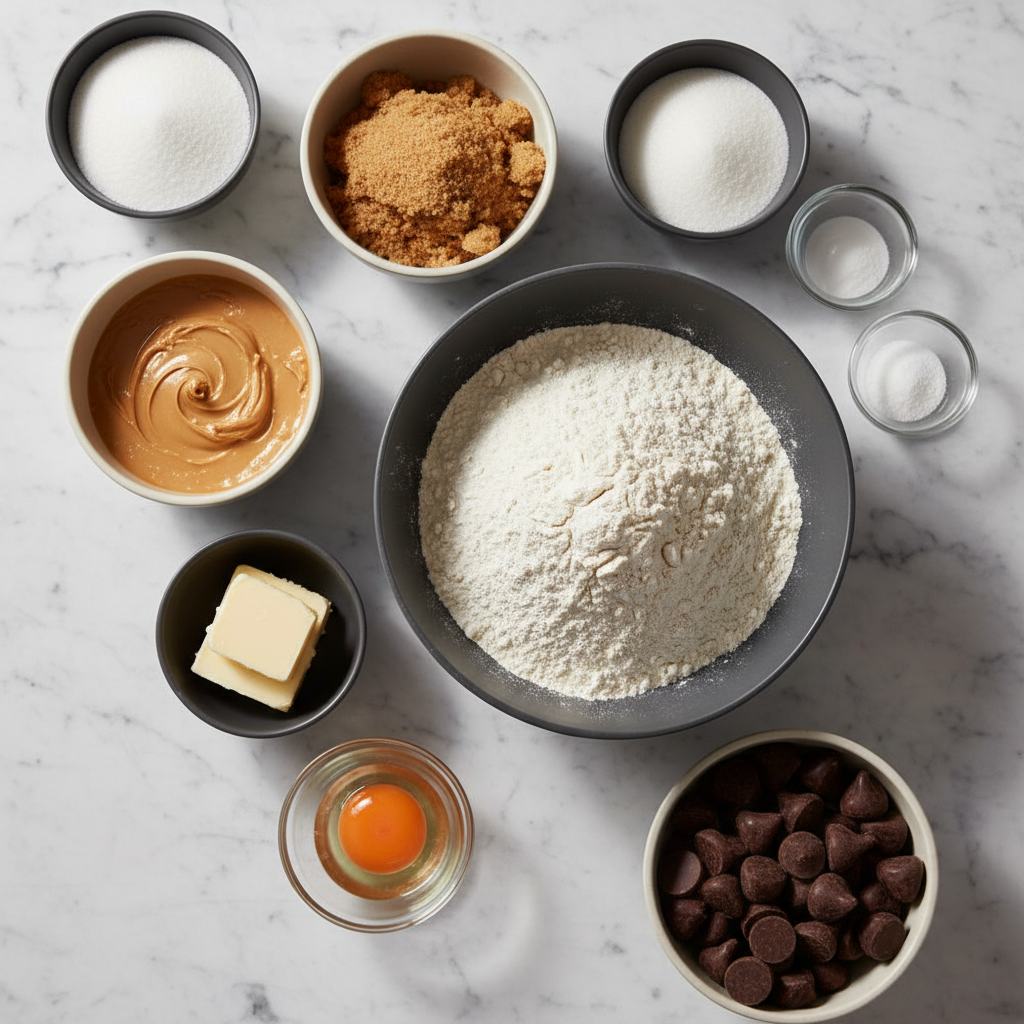
Ingredients
- 1/2 cup granulated sugar
- 1/2 cup packed brown sugar
- 1/2 cup creamy peanut butter
- 1/2 cup salted butter, softened
- 1 large egg
- 1 1/2 cups Gold Medal™ All Purpose Flour
- 3/4 teaspoon baking soda
- 1/2 teaspoon baking powder
- Additional granulated sugar
- 36 HERSHEY’S KISSES milk chocolate candies, unwrapped About
Ingredient Notes and Substitutions
Peanut Butter Selection: For the most consistent texture in your cookie dough, I always recommend using a processed creamy peanut butter like Jif or Skippy. These brands contain emulsifiers that prevent oil separation, which is crucial for maintaining dough stability. While natural peanut butters are delicious, their tendency to separate oil can lead to greasy, flat cookies.
Butter vs. Shortening: While some recipes use shortening for a taller, softer cookie, butter offers superior flavor. My brown butter method gives you the best of both worlds, providing a rich, deep taste without sacrificing tenderness.
Flour Accuracy: Precision is key in baking! To ensure your cookies have the perfect texture and avoid dryness, always spoon and level your Gold Medal™ All Purpose Flour. For bakers around the globe, 1 1/2 cups of all-purpose flour is approximately 180 grams.
Gluten-Free Option: If you’re looking for a gluten-free alternative, a 1:1 gluten-free all-purpose flour blend works exceptionally well in this recipe. Peanut butter cookies are quite forgiving when it comes to flour substitutions.
How to Make Peanut Butter Blossom Cookies
Browning the Butter Prep
- Start by melting your 1/2 cup of salted butter in a light-colored saucepan over medium heat. Watch it closely as it foams, then turns golden brown, and finally develops a beautiful nutty aroma and speckled brown bits at the bottom. This process, known as beurre noisette, adds incredible depth of flavor. If you want to dive deeper into the chemical process of browning butter, the Institute of Culinary Education has some excellent resources for understanding dairy.
- Immediately pour the browned butter into a separate bowl to stop the cooking and let it cool until it’s slightly solidified but still pliable, about 15-20 minutes.
Mixing the Dough
- Preheat your oven to 375°F (190°C). In a large mixing bowl, combine the 1/2 cup granulated sugar, 1/2 cup packed brown sugar, 1/2 cup creamy peanut butter, the slightly solidified brown butter, and the 1 large egg.
- Beat these ingredients with an electric mixer on medium speed, or use a sturdy spoon, until the mixture is light, fluffy, and well blended, about 2-3 minutes.
- In a separate small bowl, whisk together the 1 1/2 cups Gold Medal™ All Purpose Flour, 3/4 teaspoon baking soda, and 1/2 teaspoon baking powder. This ensures even distribution for a consistent rise.
- Gradually add the dry ingredients to the wet mixture, stirring until just combined and a soft, cohesive dough forms. Be careful not to overmix, which can lead to tough cookies.
Baking the Blossoms
- Shape the dough into 1-inch balls, aiming for uniform size for even baking. I find a #70 spring-loaded cookie scoop (approximately 1 tablespoon) works perfectly here.
- Roll each dough ball generously in additional granulated sugar, ensuring it’s fully coated for that signature sparkle and a pleasant crunch.
- Place the sugared dough balls about 2 inches apart on ungreased cookie sheets.
- Bake one cookie sheet at a time for 8 to 10 minutes, or until the edges are lightly golden brown and the centers still look slightly soft.
- Immediately upon removing the hot cookies from the oven, gently press one HERSHEY’S KISSES milk chocolate candy into the center of each cookie.
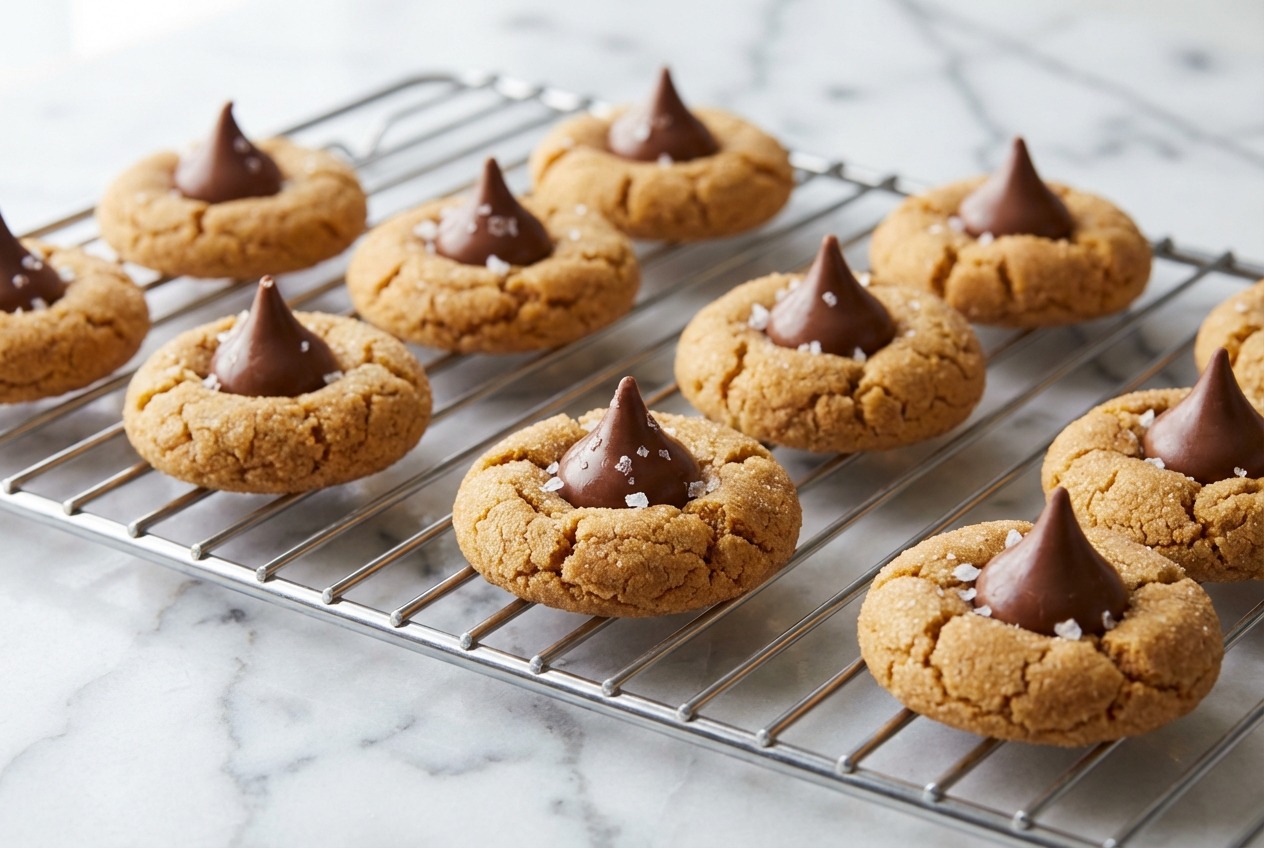
- As a final touch, sprinkle a tiny pinch of flaky sea salt (like Maldon) over the chocolate kiss for that irresistible salted caramel effect.
- Carefully transfer the cookies from the cookie sheet to a wire cooling rack to cool completely.
Cooling and Setting
Allow the cookies to cool on the wire rack until the chocolate candies are fully set, which typically takes about 1 hour. This ensures the chocolate firms up beautifully and holds its shape.
Secrets to the Perfect Cookie Texture
The Spoon and Level Method: When measuring flour, resist the urge to scoop directly from the bag with your measuring cup. This compacts the flour, leading to too much being added, resulting in dry, crumbly cookies. Instead, gently spoon the flour into your measuring cup and then level it off with a straight edge.
Dough Temperature Control: The temperature of your dough greatly impacts the cookie’s final texture. Slightly cool dough helps maintain its shape during baking and contributes to those wonderful crinkled edges and chewy centers.
The Physics of the Crack: Those beautiful cracks around the edges of peanut butter blossoms are a sign of a perfectly made cookie! They happen when the hot dough expands and the surface sets, then slightly contracts as it cools around the pressed-in chocolate. If your cookies don’t crack, it often indicates that too much flour was used, making the dough too stiff.
Pro Tips and Troubleshooting
Pro Tips for Success
- Unwrap all 36 HERSHEY’S KISSES milk chocolate candies before you even put the first batch of cookies in the oven. This ensures you’re ready to press the chocolates into the hot cookies the moment they emerge, which is crucial for perfect adhesion.
- For perfectly uniform cookies that bake evenly, I highly recommend using a #70 spring-loaded cookie scoop, which portions out roughly 1 level tablespoon of dough. Consistency is key for a professional-looking cookie platter.
- When you press the chocolate into the warm cookie, aim to press it slightly more than halfway into the cookie. This deep press helps ensure the chocolate stays firmly attached as the cookie cools and sets, preventing any rogue kisses from falling off.
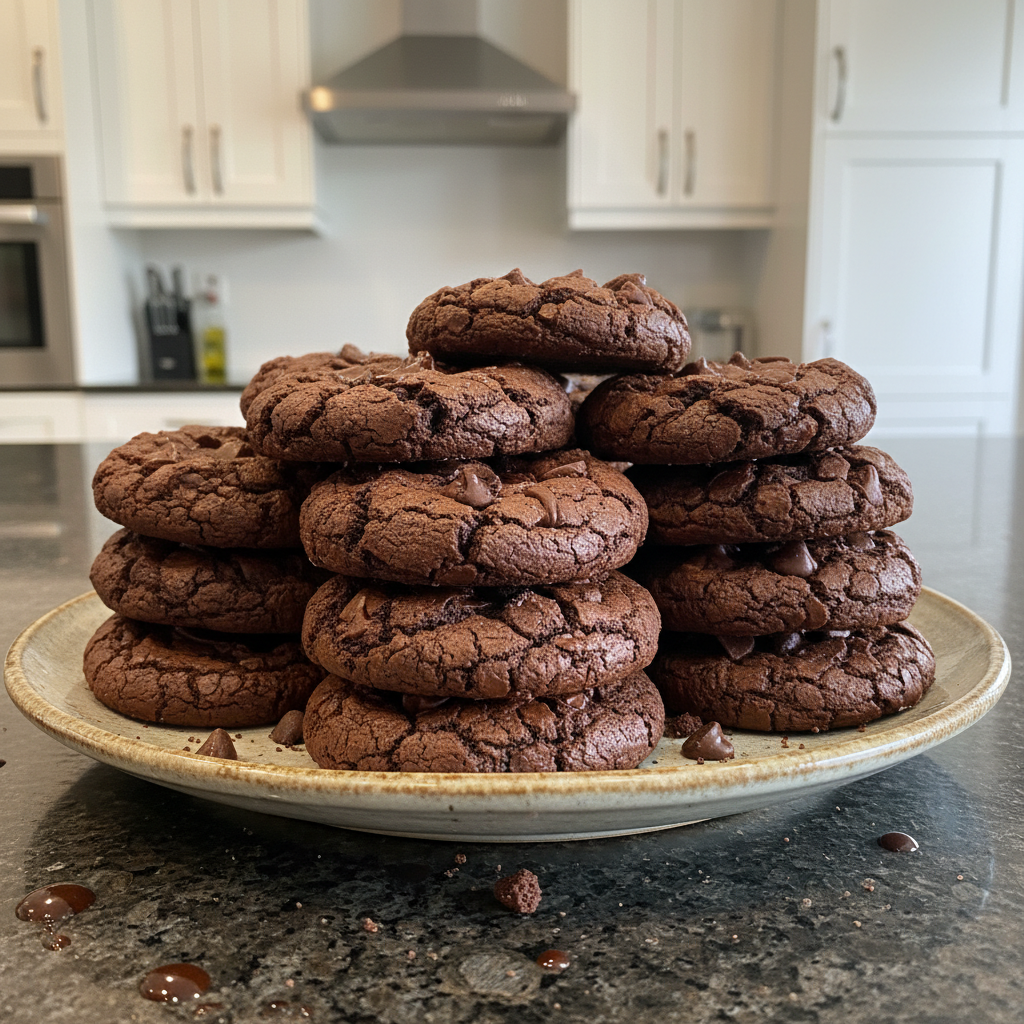
- For another rich, decadent treat, consider trying these brownie mix cookies next time you’re craving something chocolaty and quick.
Common Mistakes to Avoid
- Never, ever put the chocolate kisses on the cookies before baking. They will melt completely and lose their iconic shape, ruining the classic blossom look.
- Avoid over-baking these cookies! They should look slightly underdone and soft in the center when you pull them from the oven. The residual heat from the baking sheet will continue to cook them to perfection, ensuring they remain chewy.
- Using “natural” peanut butter that requires stirring can be problematic. The oil separation in these varieties often leads to cookies that spread too much, become greasy, or have an inconsistent texture. Stick to processed, creamy brands for this recipe.
Serving and Storage Ideas
Creative Serving Suggestions
- The Classic Pairing: Nothing beats a tall, ice-cold glass of milk alongside these rich peanut butter blossom cookies. The cold milk perfectly cuts through the sweetness and richness, making for a delightful contrast.
- Ice Cream Sandwiches: For a truly decadent treat, once cooled, use two cookies to sandwich a small scoop of vanilla bean ice cream. The soft cookies and creamy ice cream are a match made in heaven.
- The Holiday Platter: These blossoms are perfect for a festive cookie assortment. Pair them with contrasting textures and flavors, like classic chewy brownie cookies or delicate spritz cookies, for a visually appealing and delicious spread.
Storage and Flash Freezing
- Room Temperature: Once completely cool and the chocolate has set, store your peanut butter blossom cookies in an airtight container. Arrange them in a single layer or separate layers with sheets of waxed paper to prevent sticking, and they will stay fresh for up to 5 days.
- Flash Freezing Guide: For “bake-on-demand” cookies, you can freeze the raw dough balls. Simply roll them in sugar as directed, then place them on a parchment-lined baking sheet and freeze until solid. Once frozen, transfer the dough balls to a freezer-safe bag or container and store for up to 3 months. Bake directly from frozen, adding a minute or two to the baking time.
Master the Art of the Blossom
My friends, these brown butter and sea salt peanut butter blossom cookies are more than just a sweet treat; they’re a testament to how small tweaks can elevate a classic to new heights. The added depth of flavor and the perfect balance of salty-sweet make them truly unforgettable. Whip up a batch for your next gathering, and watch them disappear!
Classic Peanut Butter Blossom Cookies
Ingredients
Equipment
Method
- Melt 1/2 cup of salted butter in a light-colored saucepan over medium heat. Watch closely as it foams and turns golden brown with a nutty aroma and brown bits at the bottom.
- Immediately pour the browned butter into a separate bowl to stop the cooking and let it cool until it is slightly solidified but still pliable, about 15-20 minutes.
- Preheat your oven to 375°F (190°C). In a large mixing bowl, combine 1/2 cup granulated sugar, 1/2 cup brown sugar, 1/2 cup creamy peanut butter, the cooled brown butter, and 1 large egg.
- Beat the mixture with an electric mixer on medium speed until it is light, fluffy, and well blended, about 2-3 minutes.
- In a separate small bowl, whisk together the 1 1/2 cups flour, 3/4 teaspoon baking soda, and 1/2 teaspoon baking powder.
- Gradually add the dry ingredients to the wet mixture, stirring until just combined and a soft, cohesive dough forms, being careful not to overmix.
- Shape the dough into 1-inch balls, using approximately 1 tablespoon of dough for each to ensure uniform sizing.
- Roll each dough ball generously in additional granulated sugar until fully coated.
- Place the dough balls about 2 inches apart on ungreased cookie sheets.
- Bake one sheet at a time for 8 to 10 minutes, or until the edges are lightly golden brown and the centers still appear slightly soft.
- Immediately after removing the cookies from the oven, gently press one HERSHEY'S KISSES candy into the center of each cookie and sprinkle a tiny pinch of flaky sea salt over the chocolate.
- Carefully transfer the cookies to a wire rack to cool completely.
- Allow the cookies to rest on the wire rack for about 1 hour until the chocolate candies are fully set and firm.
Notes
Frequently Asked Questions
How can I prevent dry and crumbly cookies?
How can I prevent the Hershey Kisses from melting completely?
Can I make peanut butter blossoms ahead of time and freeze them?
What is the best type of peanut butter to use for this recipe?
Why do my cookies need to be rolled in sugar?
Printable Recipe Card
Want just the essential recipe details without scrolling through the article? Get our printable recipe card with just the ingredients and instructions.